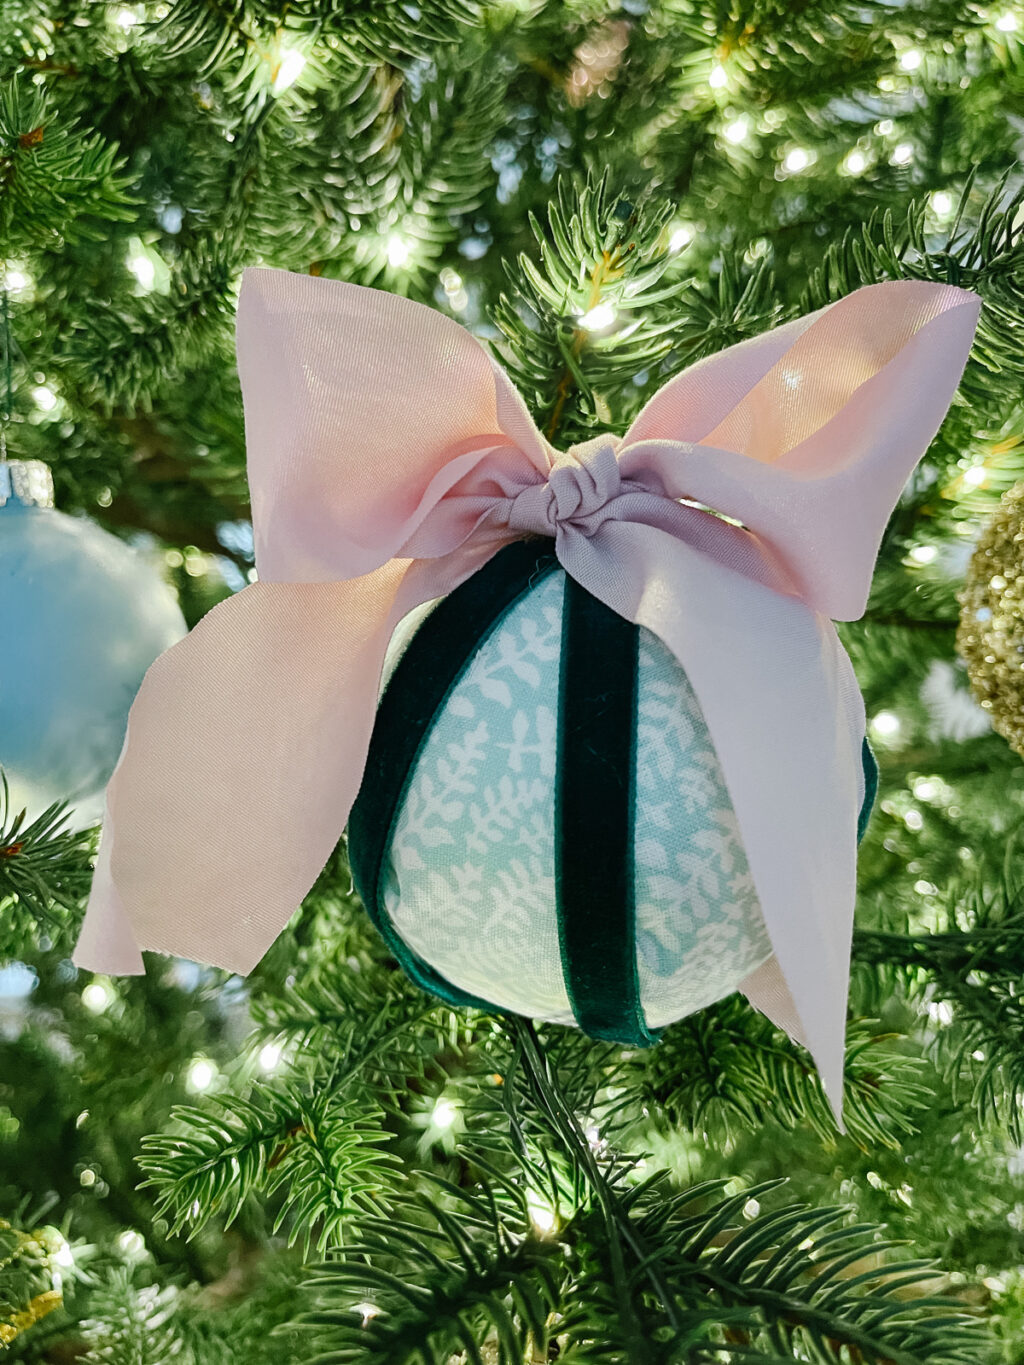
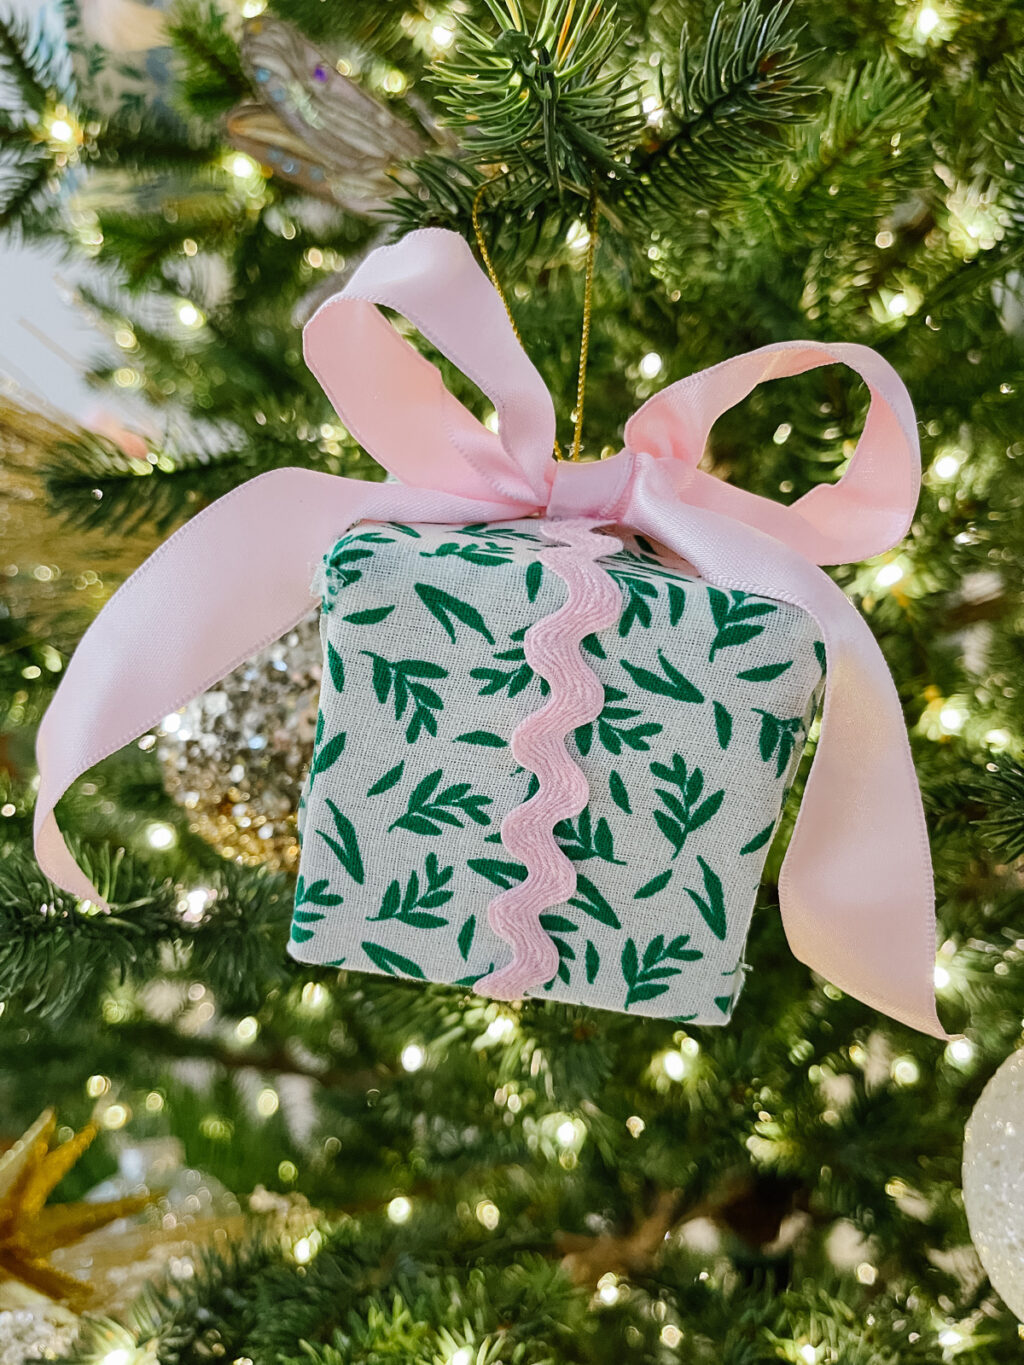
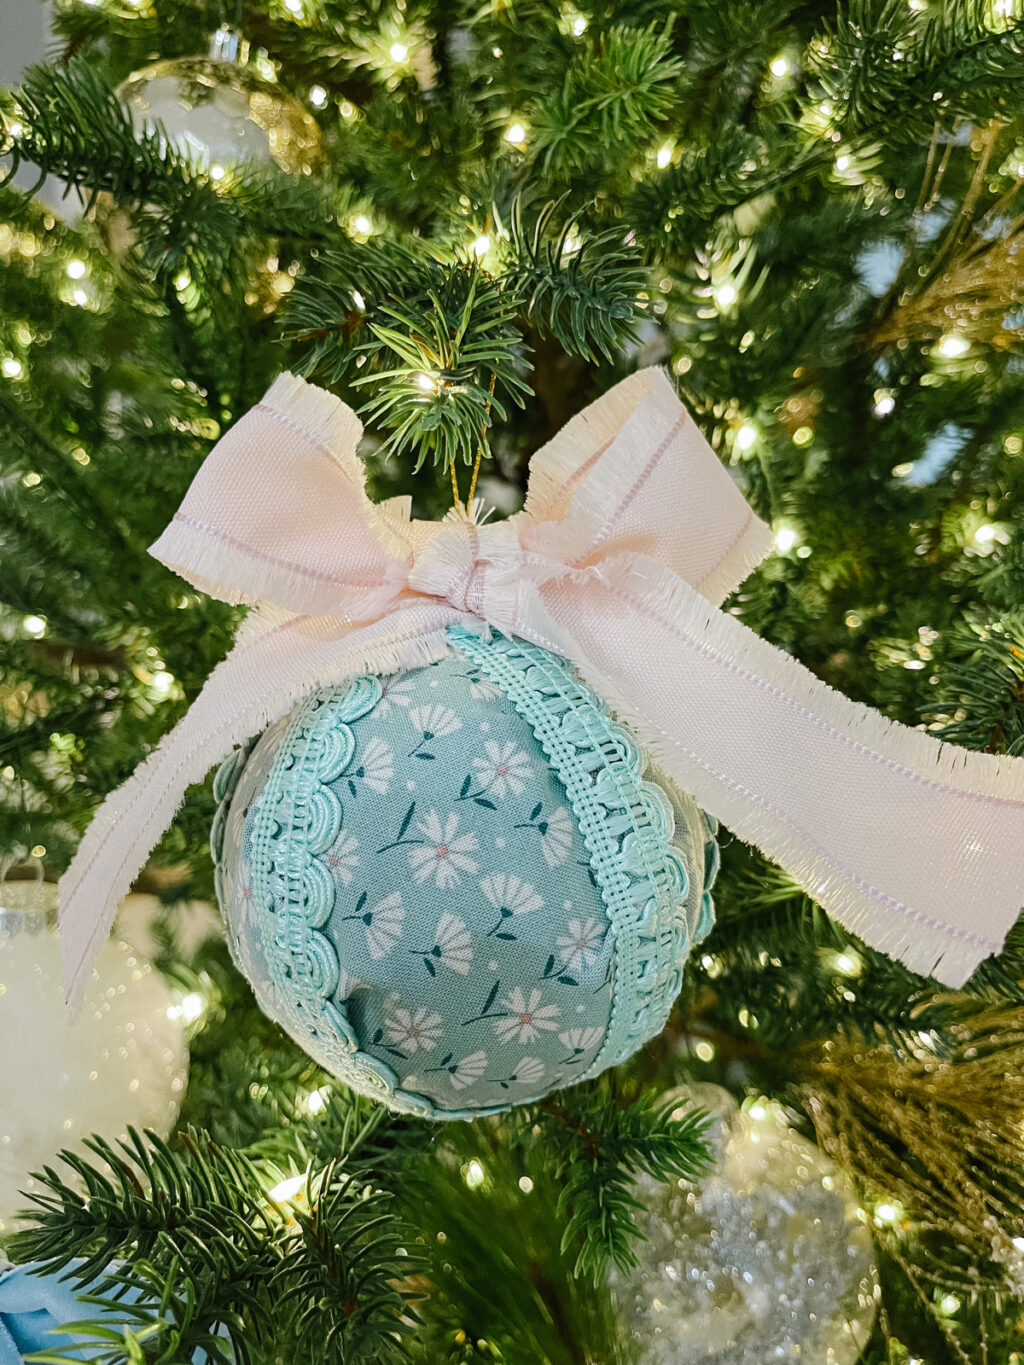
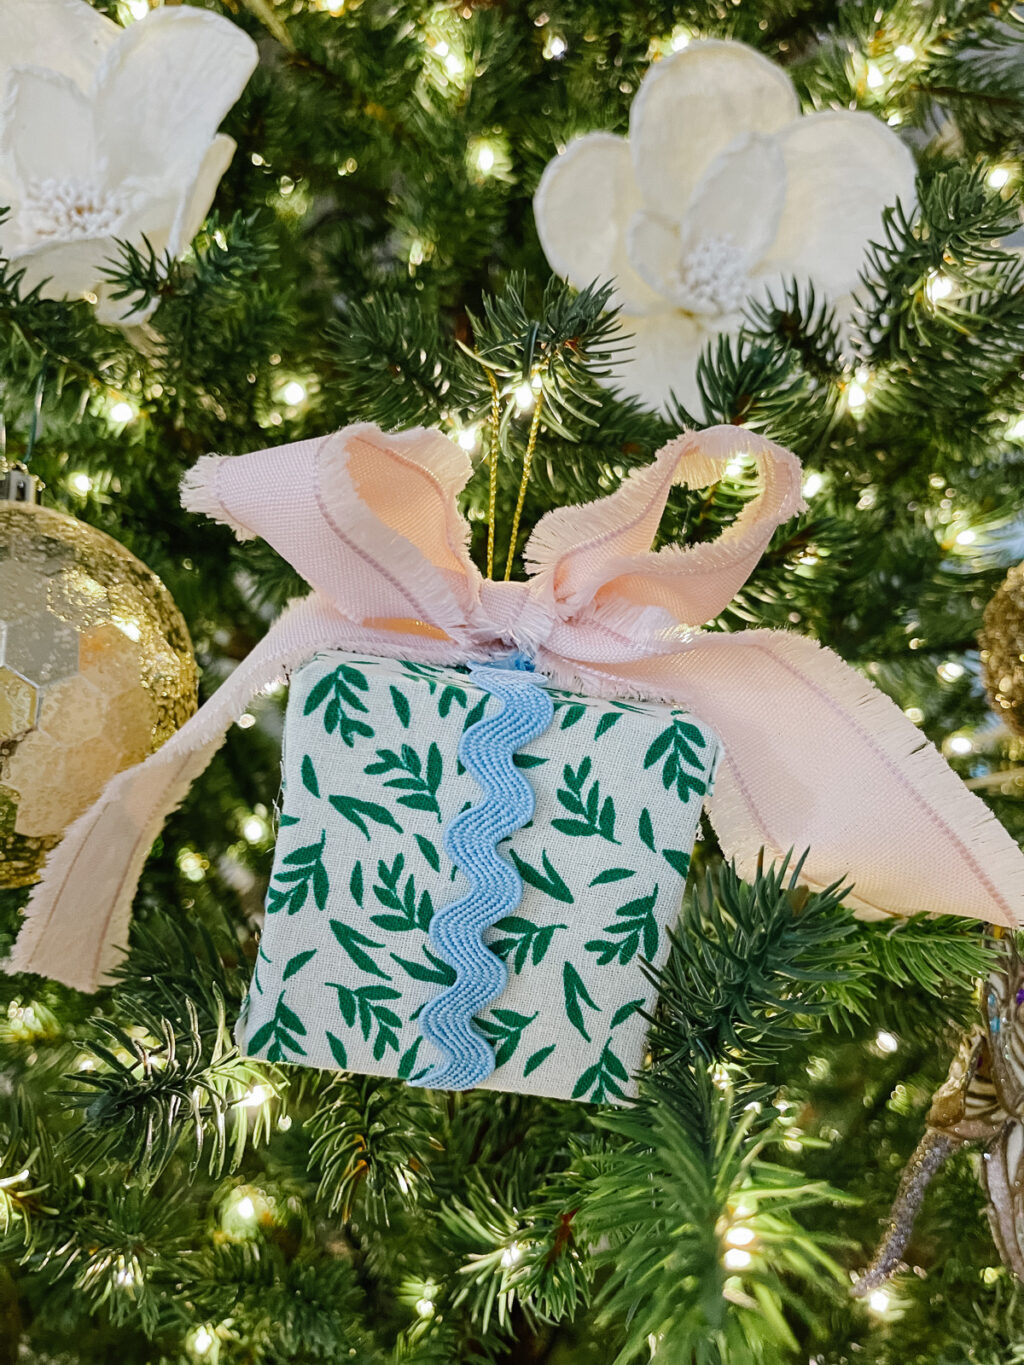
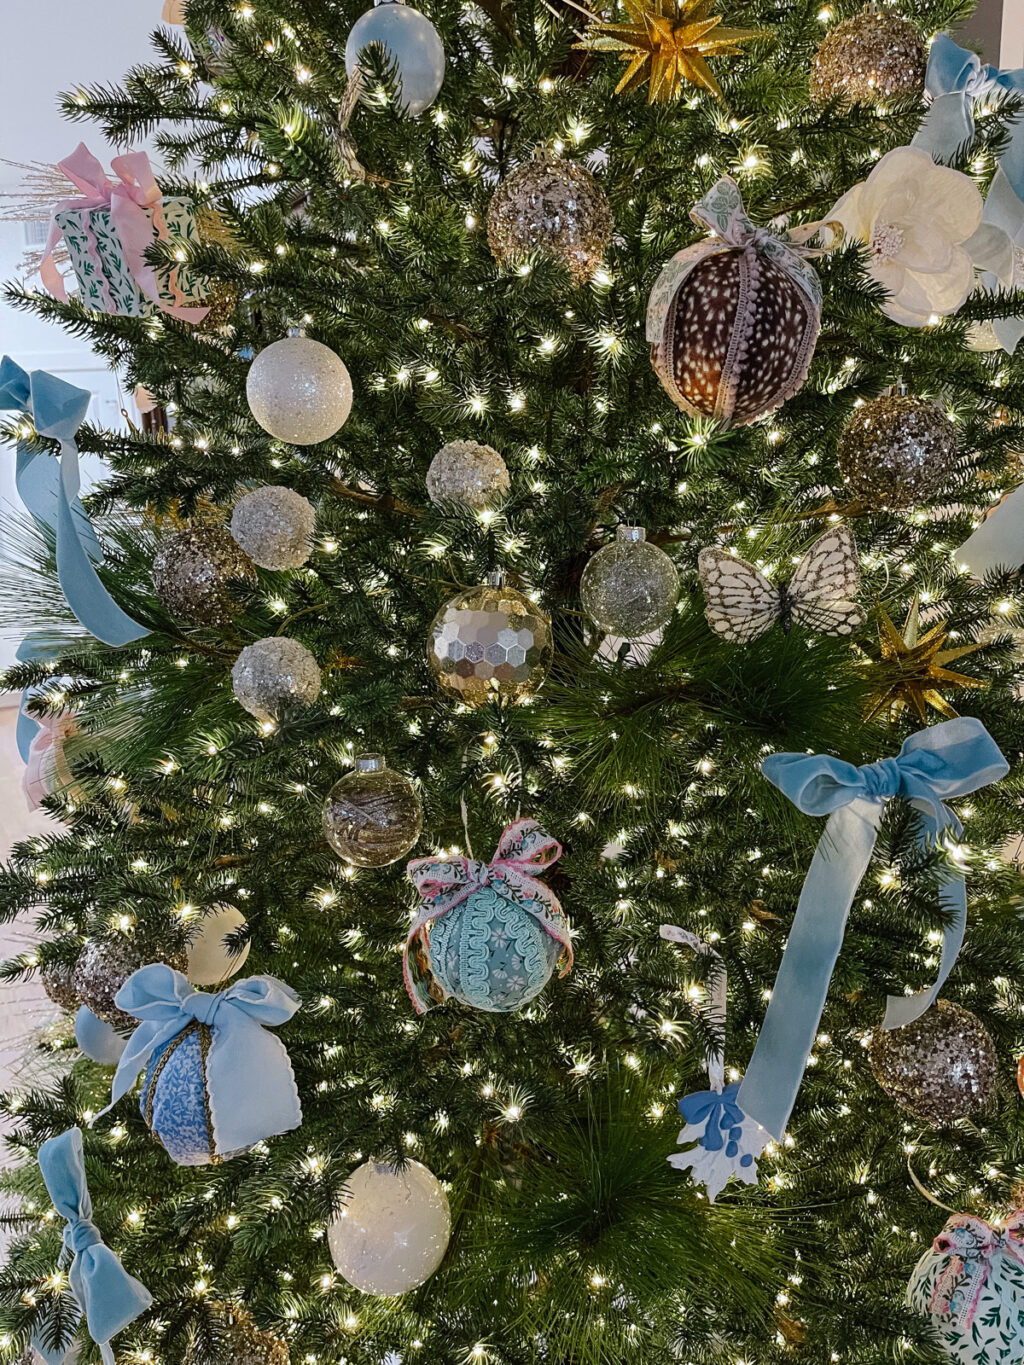
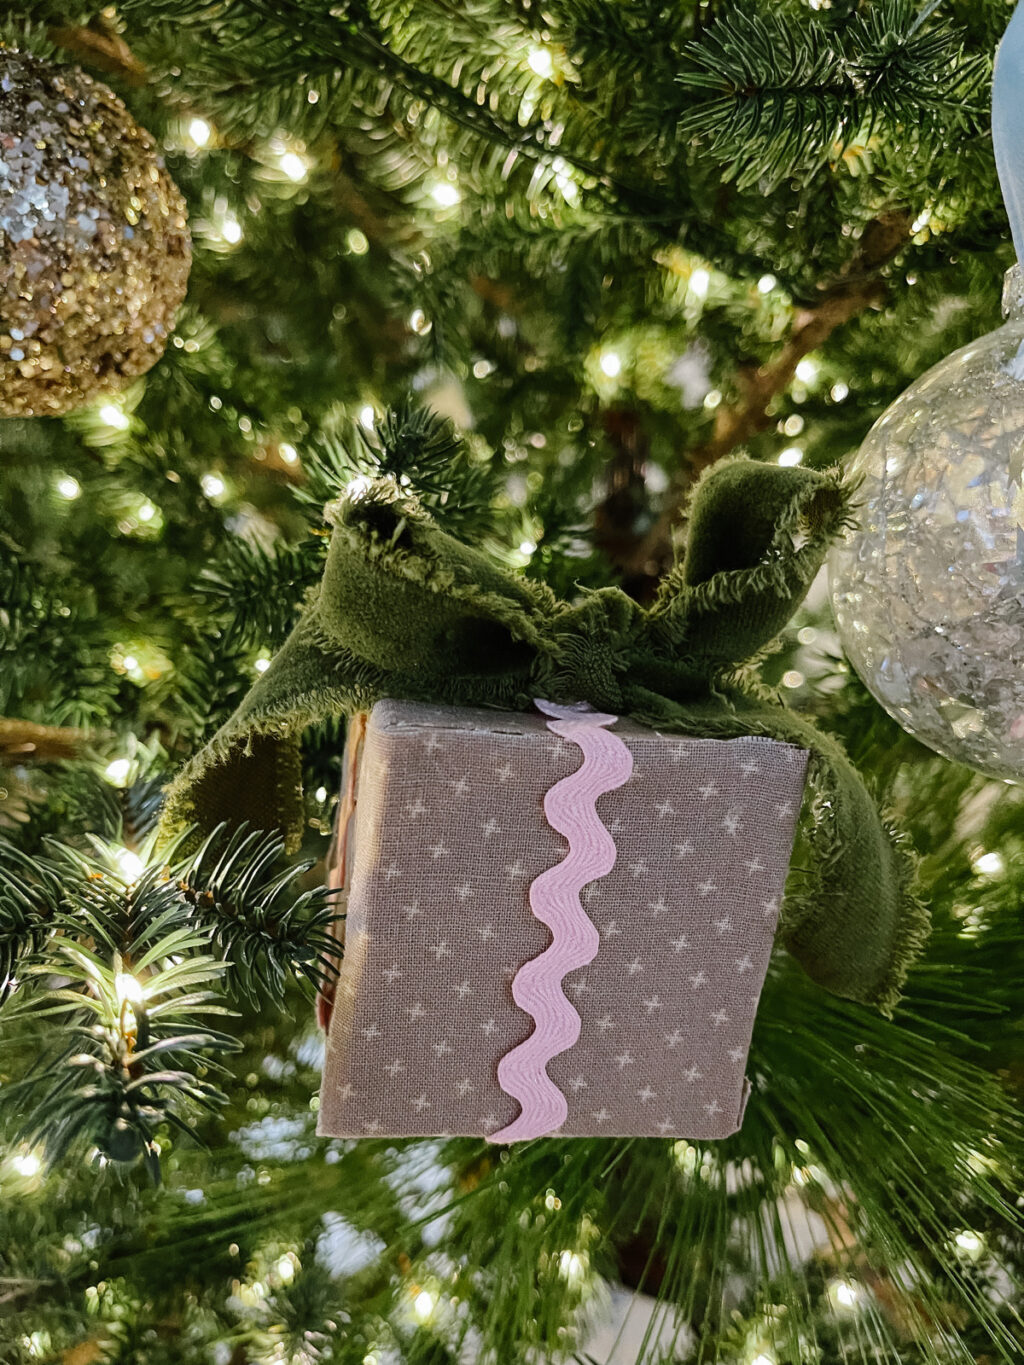
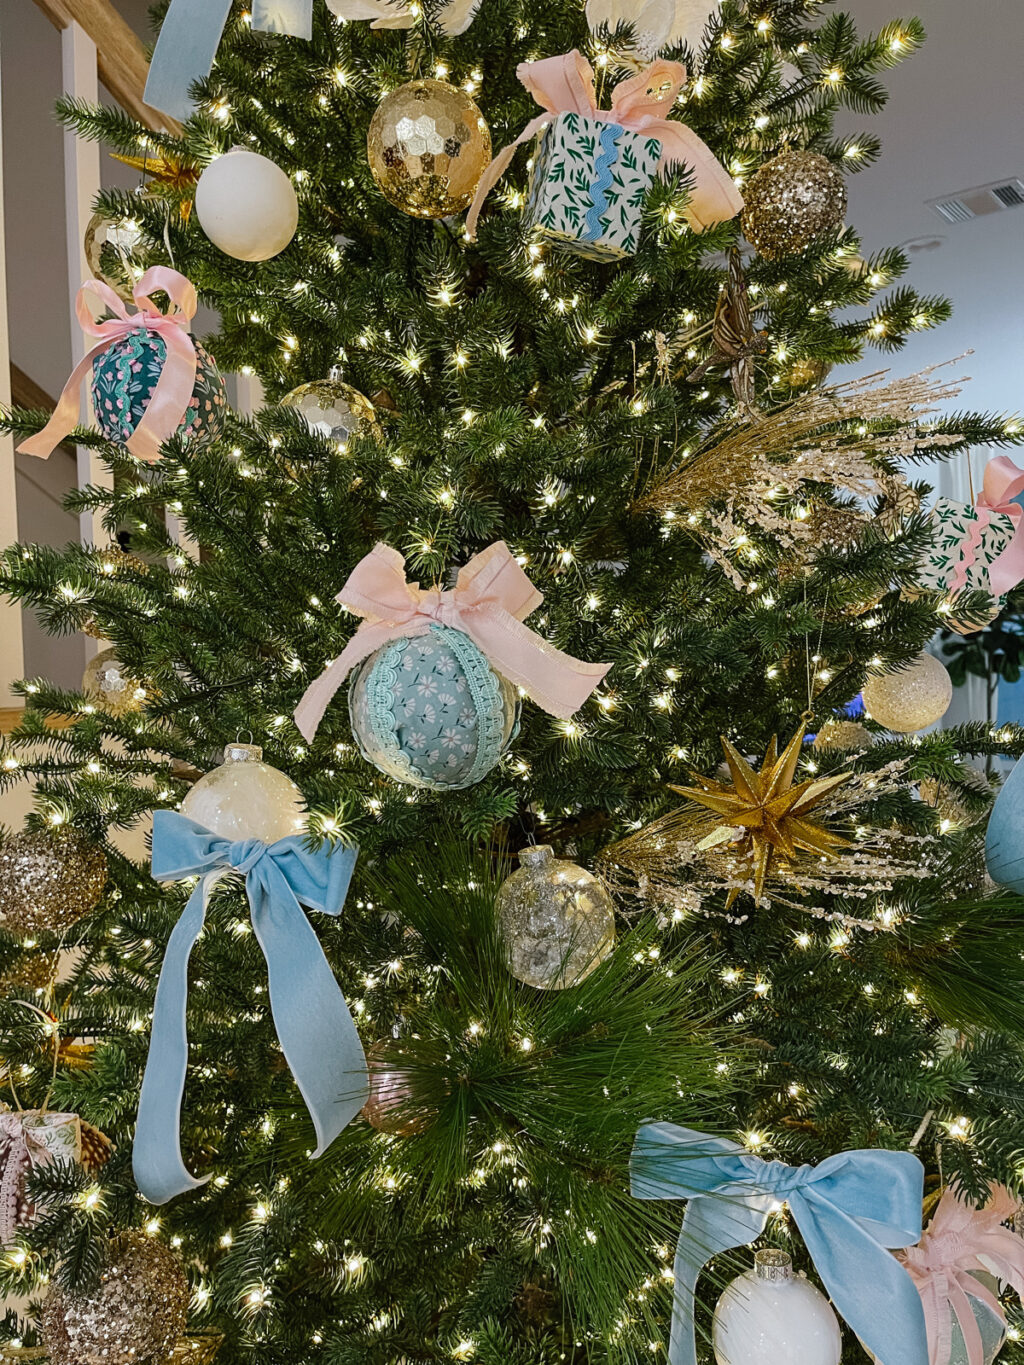
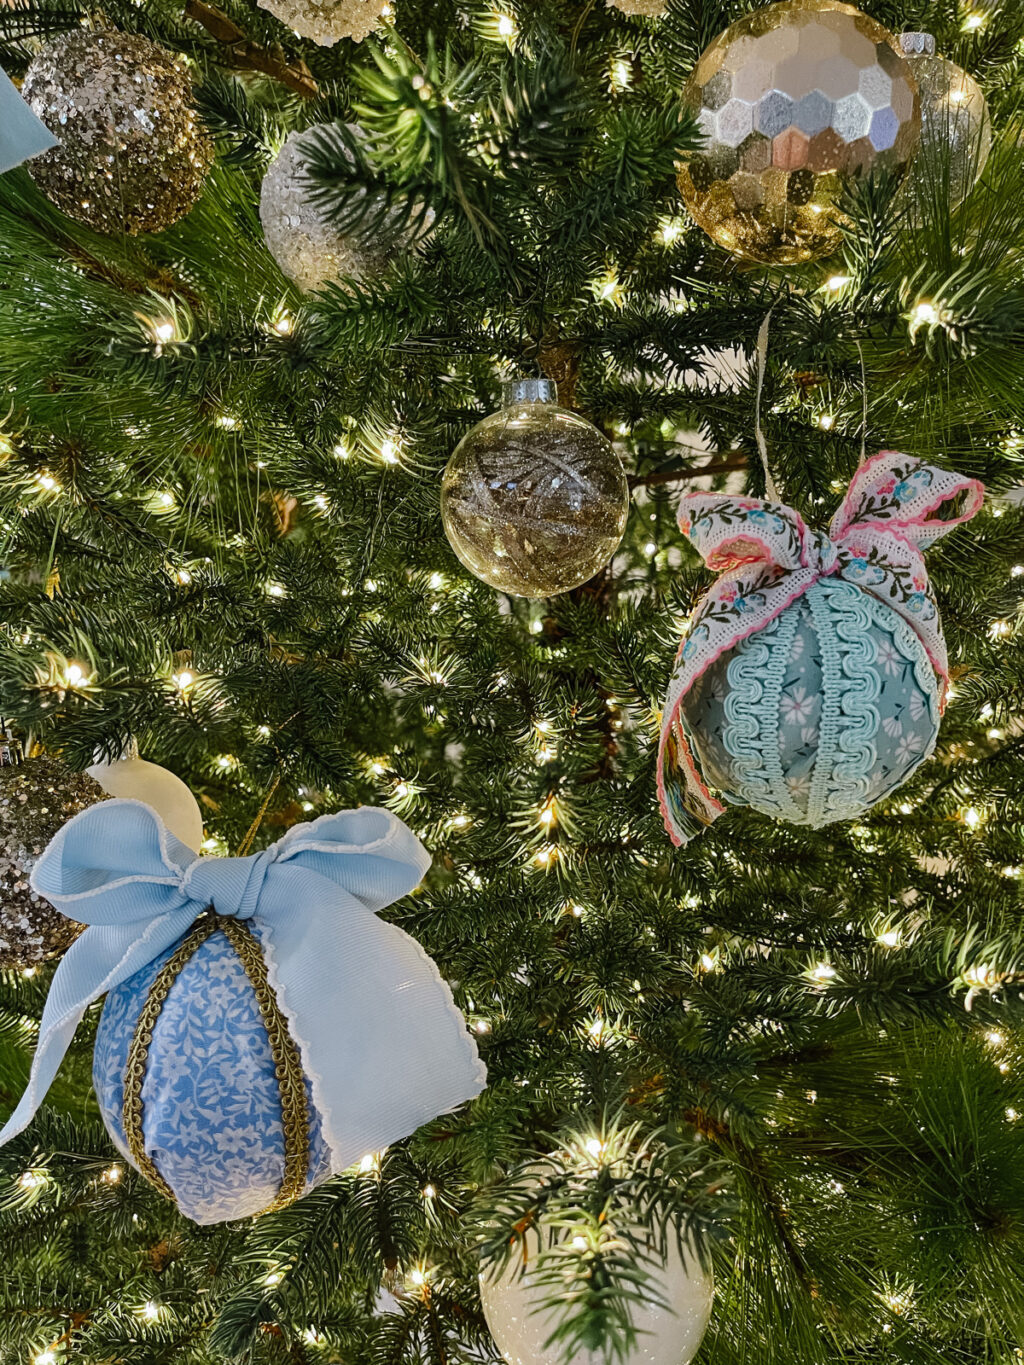
I’m thrilled with how my DIY fabric and ribbon ornaments turned out! I saw one of my favorite designers, Gretchen Black, make some on her IG stories and thought “immediately YES!” I knew it was the perfect holiday project. I even did some gift box shapes to switch things up a bit, which you’ll see below!
If you’ve followed me since the OG blogging days, you’ll know that DIY ornaments are not new to me – I have a very popular tutorial from 2012 where I shared how I made DIY filled ornaments – I’ve been making those since I was a teen!
In my teens and early 20s, I would spend hours making ornaments and decorating our tree – it truly was the most wonderful time of the year! I would fill our tree with faux peonies and spray paint ornaments pink and gold – I always wanted a different tree that no one else had so there was a lot of DIY and trips to the craft store involved. I guess some things never change – I love a traditional tree (like our kids tree, upstairs), but there’s something about a tree filled with flowers, butterflies, velvet bows and handmade ornaments that fills me with joy, too. I still have my DIY filled ornaments on our tree today, though I made them so long ago.
Let’s get to the DIY part of this post – I’ll link materials too, for easy online shopping.
WHAT YOU NEED (SUPPLIES)
- Paper mache ornaments from Hobby Lobby (or here) or styrofoam balls (note: you will need to add a hanging piece to styrofoam balls – I used very thin gold wired ribbon).
- Ribbon – to make the bows that sit atop the ornaments (1 inch to 1.5 inches) & to use to wrap ornaments (I suggest 2.5 inch ribbon for this). I also purchased vintage ribbon here and here.
- Trim pieces (to cover the overlap of your fabric) – ricrac trim, trim bundles, roped ribbon/trim, vine trim, etc.
- Fabric to cover your ornaments (I purchased mine at Hobby Lobby, Joann’s, Walmart and Etsy).
- A hot glue gun (I have this one).
- This ornament template & tutorial (print & cut out).
Here are some ideas of items to order in each category, including links to some exact items I used to make my ornaments!
SHOP ORNAMENTS

SHOP RIBBON
SHOP VELVET RIBBON
SHOP FABRICS
SHOP TRIM PIECES
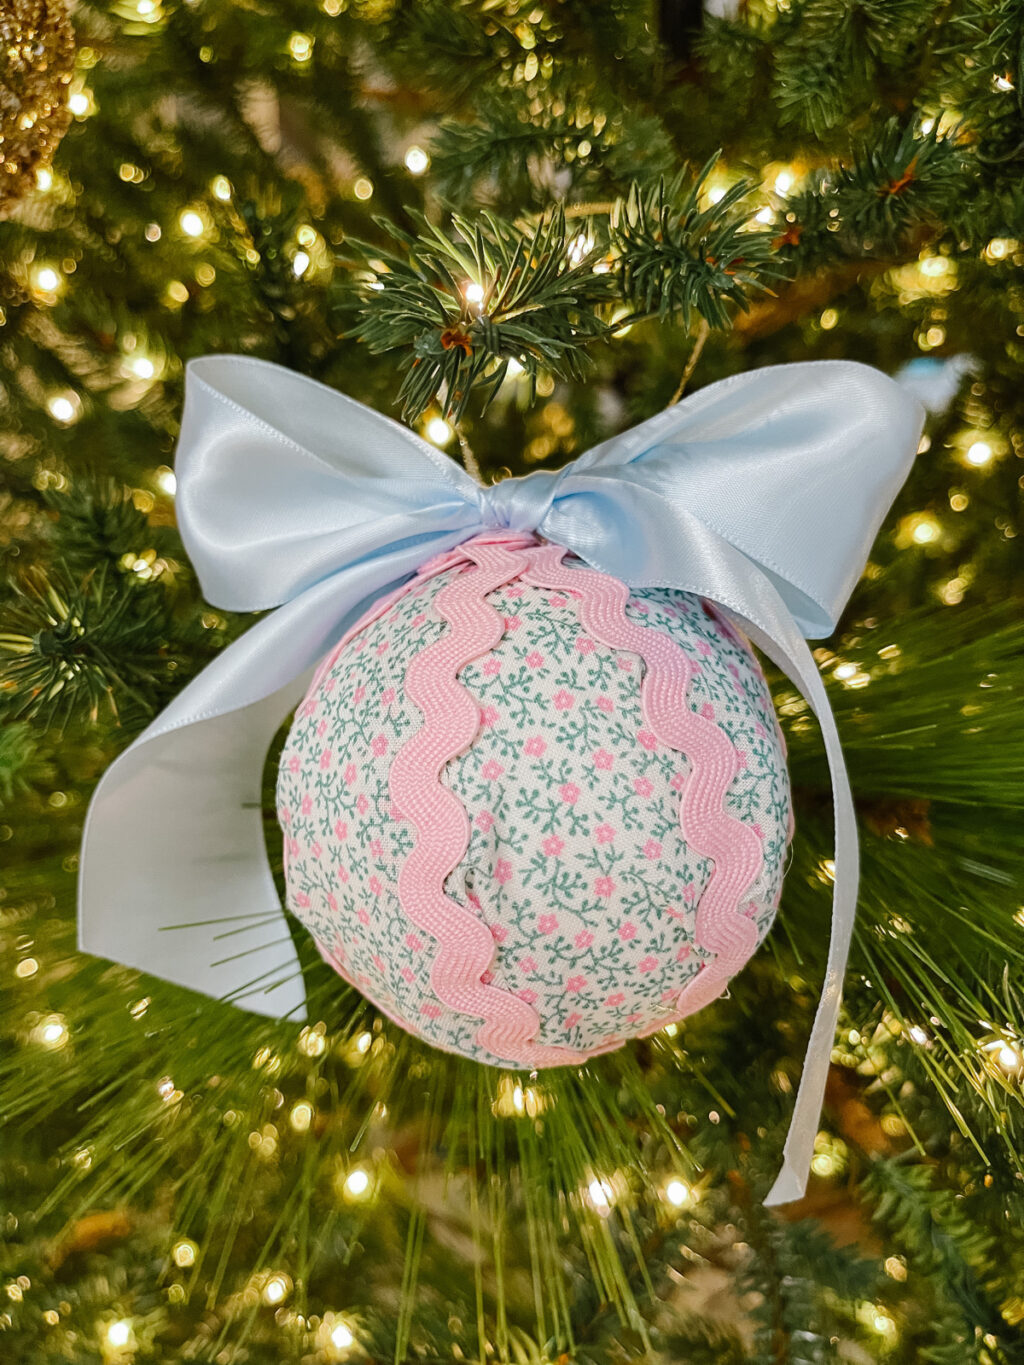
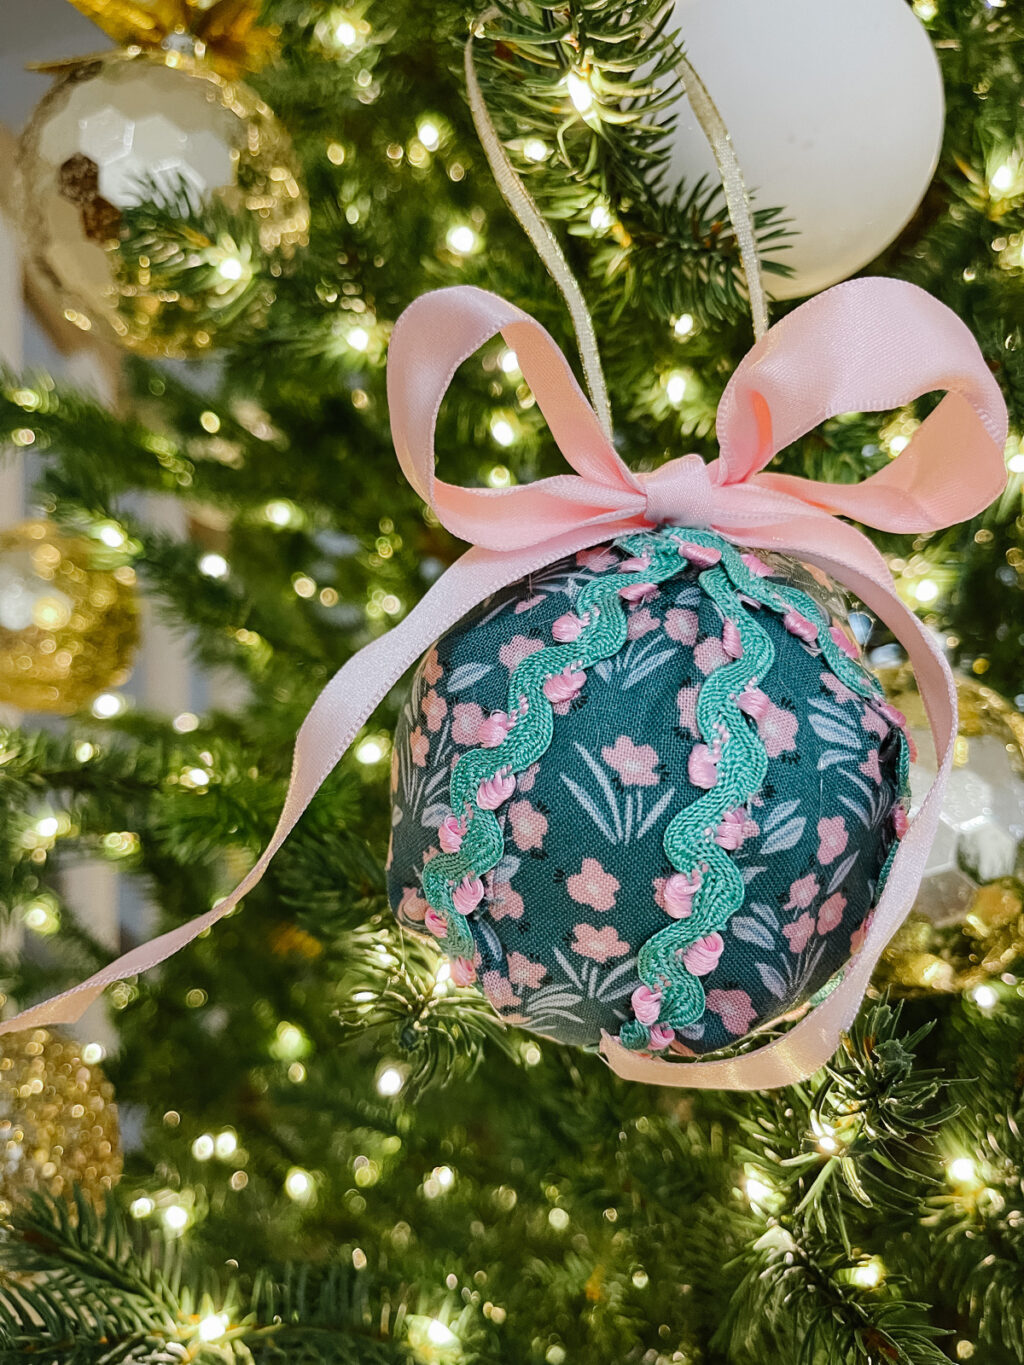
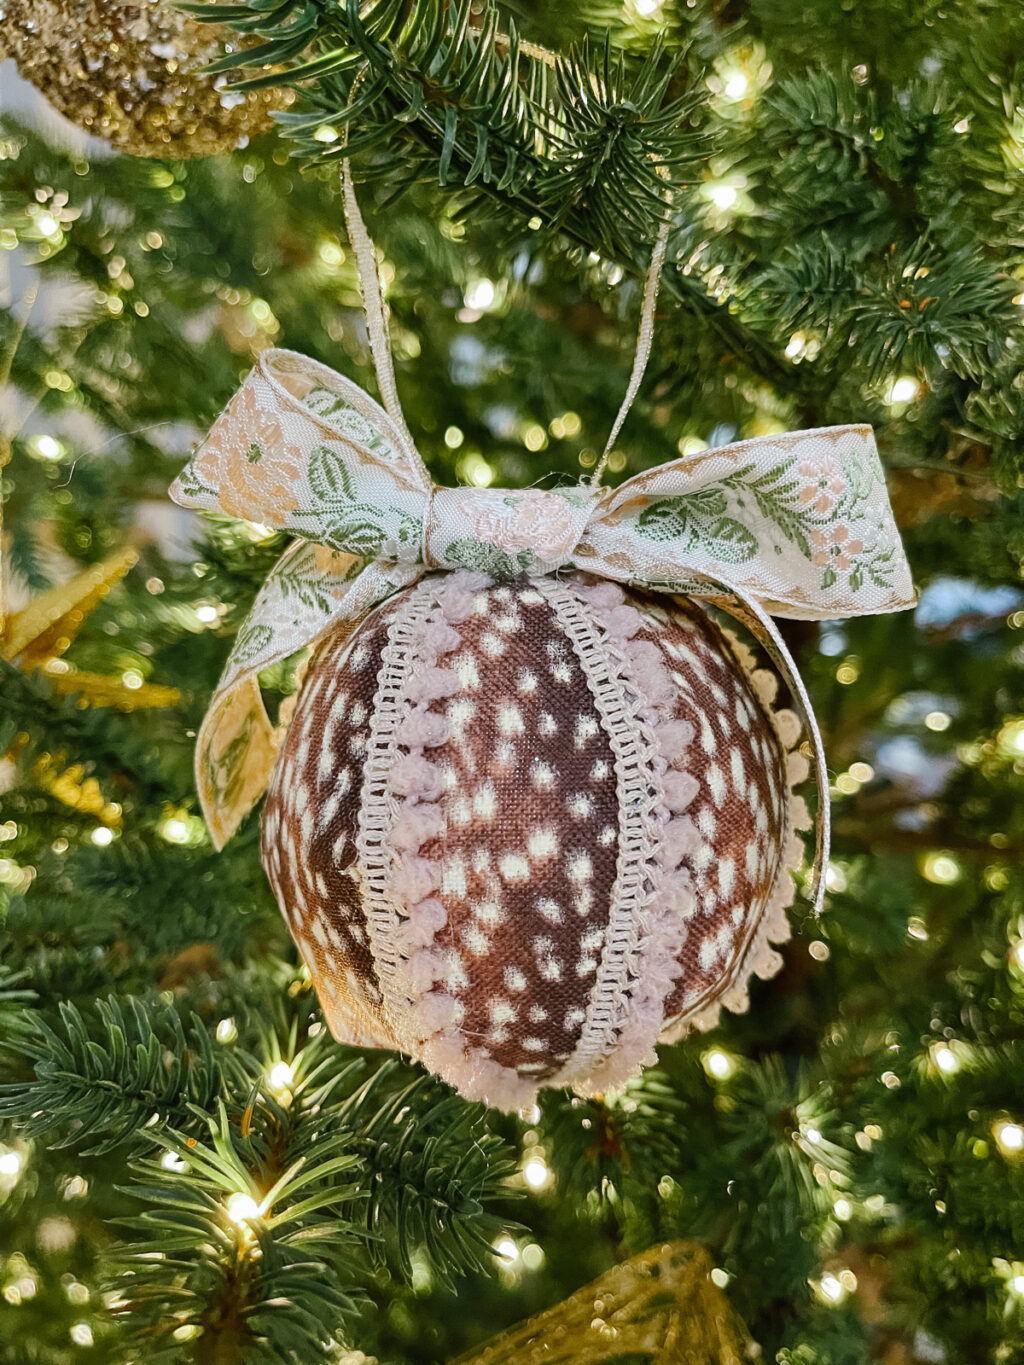
There’s some trial and error involved in this process as the templates aren’t prefect, but the best part of that you can cover up all of your seams where the fabric meets with your trim pieces. I’m a huge fan of ricrac trim but there are tons of other options, too. I can’t wait to get better at making these and have less “mess,” but even imperfect as they are, I truly adore them and they make me happy every time I look at our tree! In fact, I plan to make more next weekend since I have a ton of supplies and would like to make a few as gifts, too (and also…I may be making one for y’all – stay tuned for a giveaway!)
You can watch a saved highlight on the process of making these on my IG stories, here.
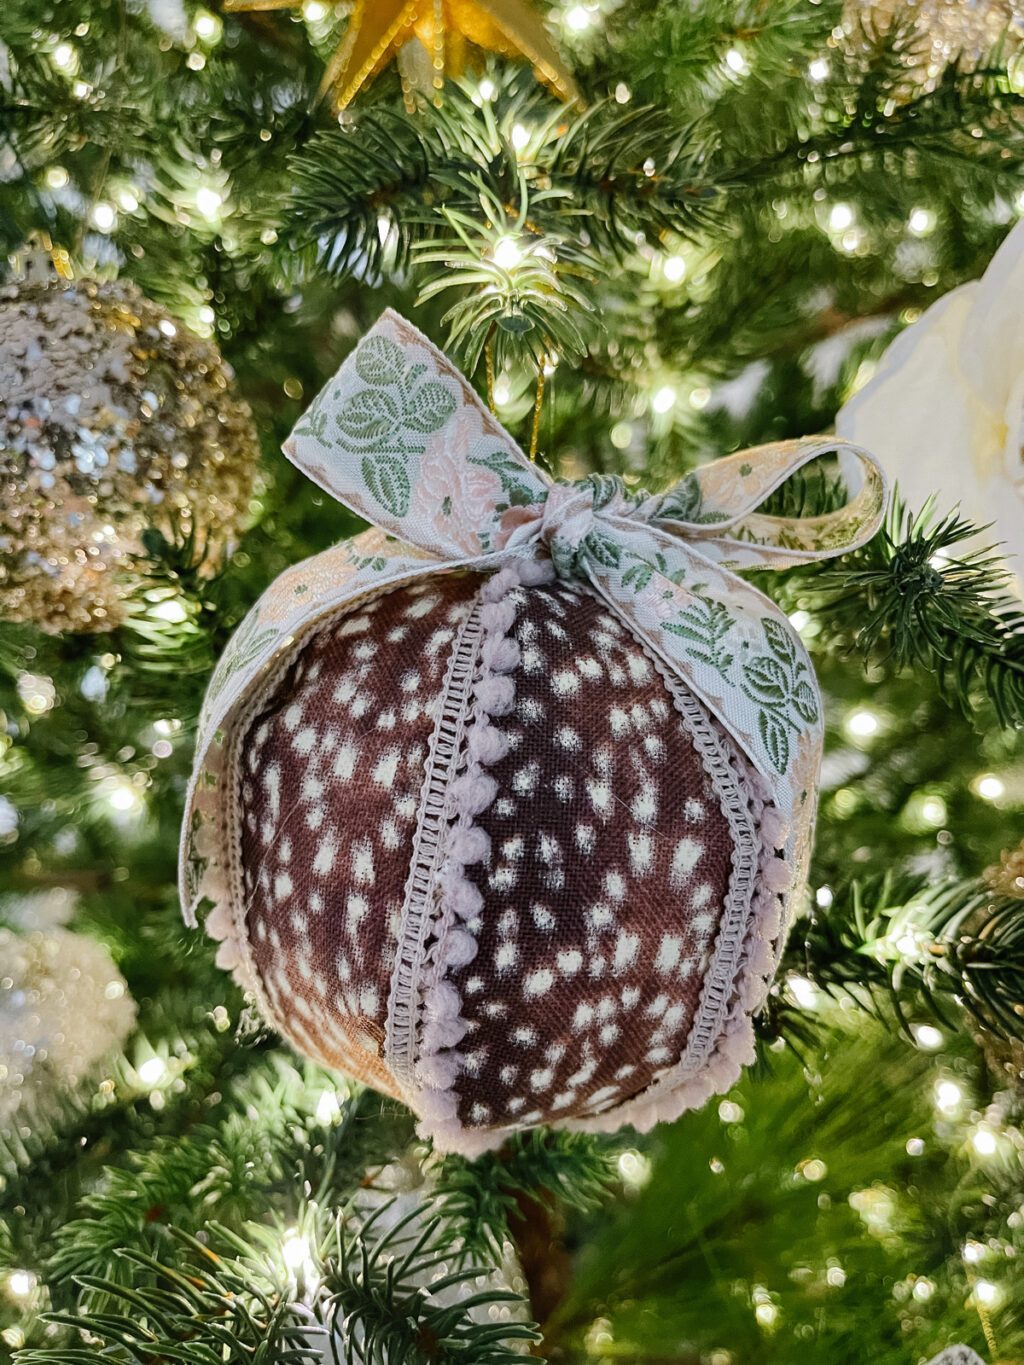
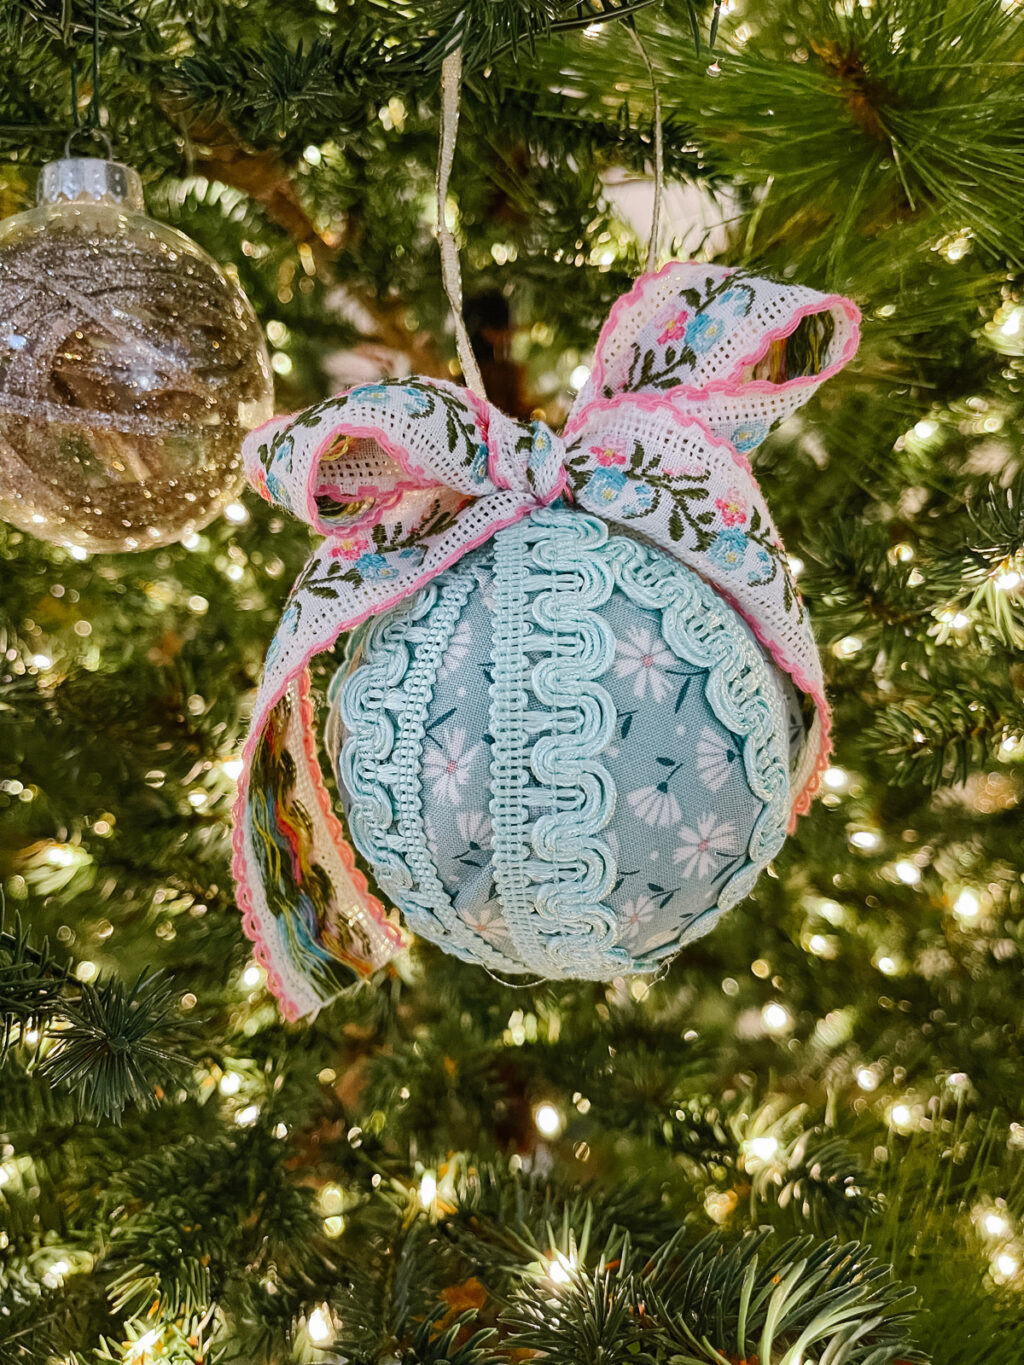
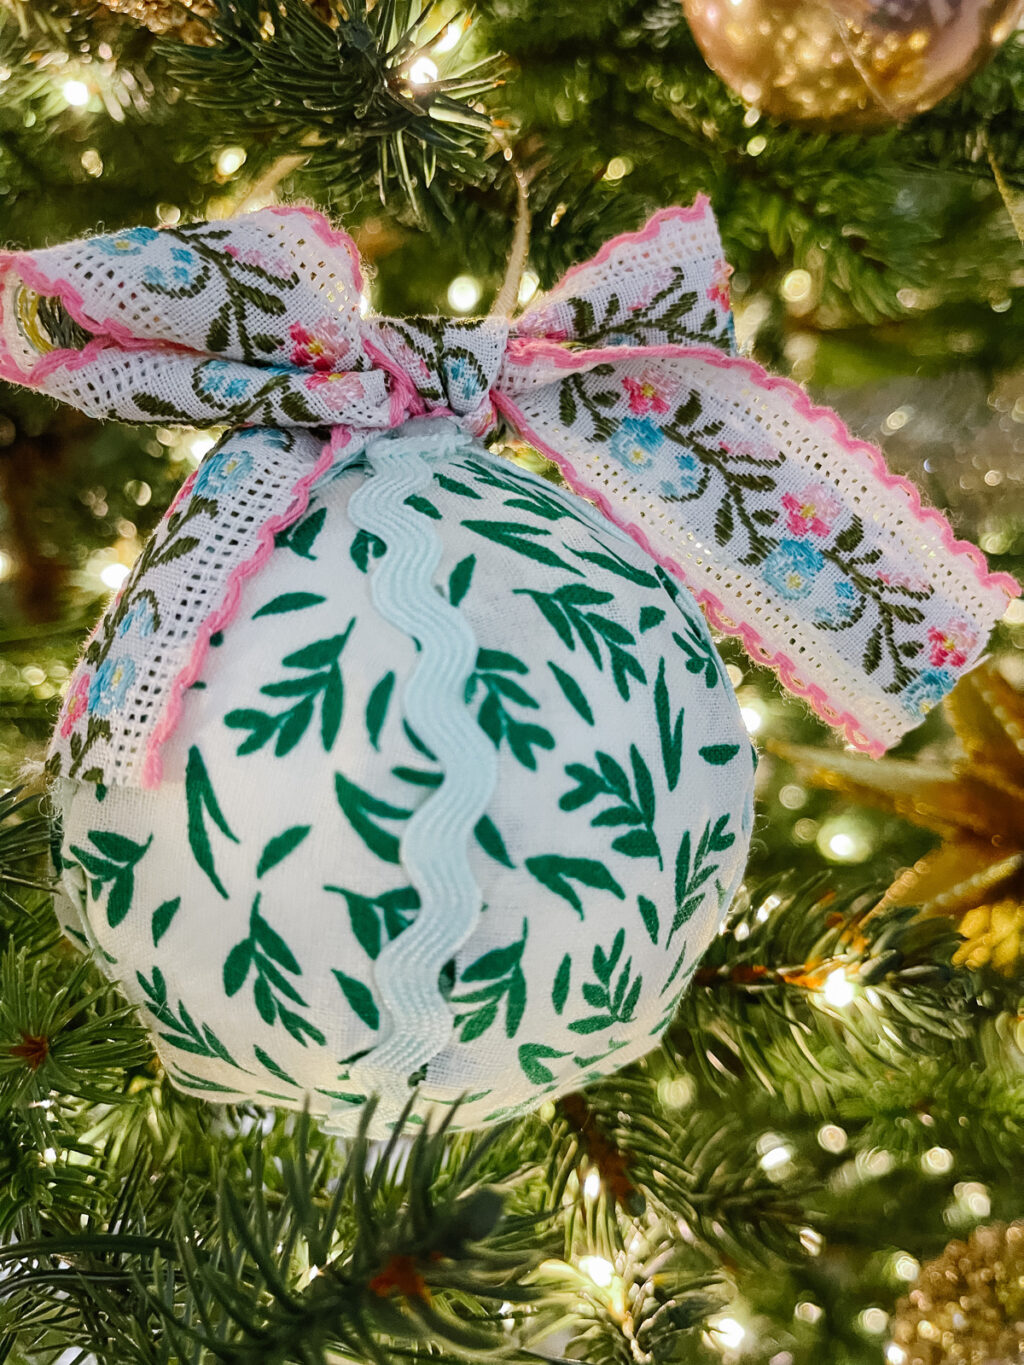
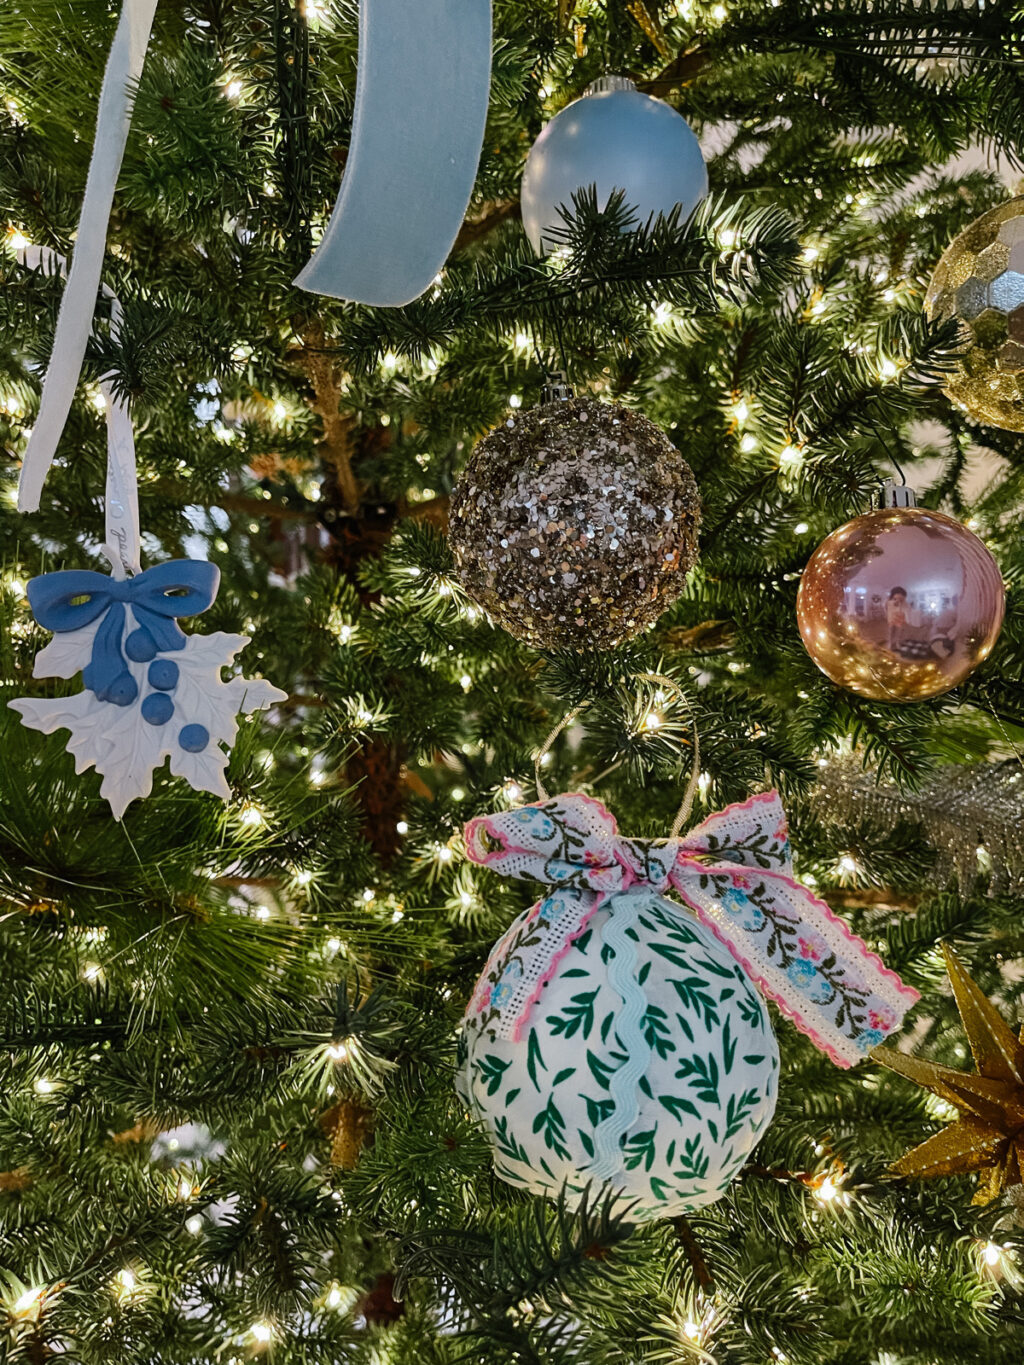
Now, the fun part…the results! Scroll down to see all of the ornaments I made. Which one is your favorite? I really love the gift box with the pink bow, the antelope and the mint fabric with the vintage bow (second photo).
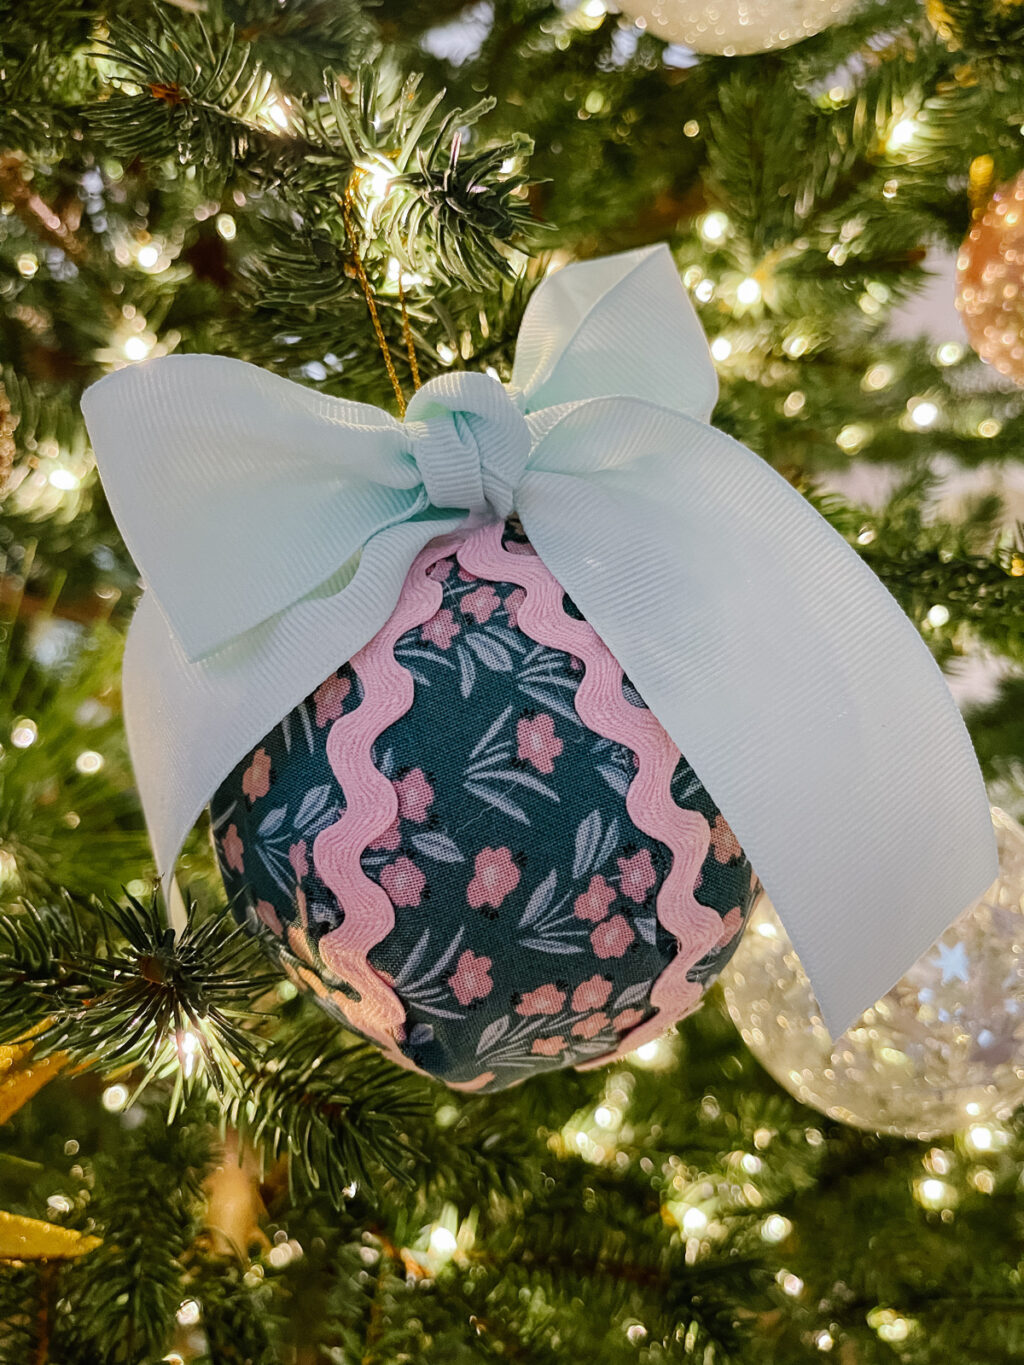

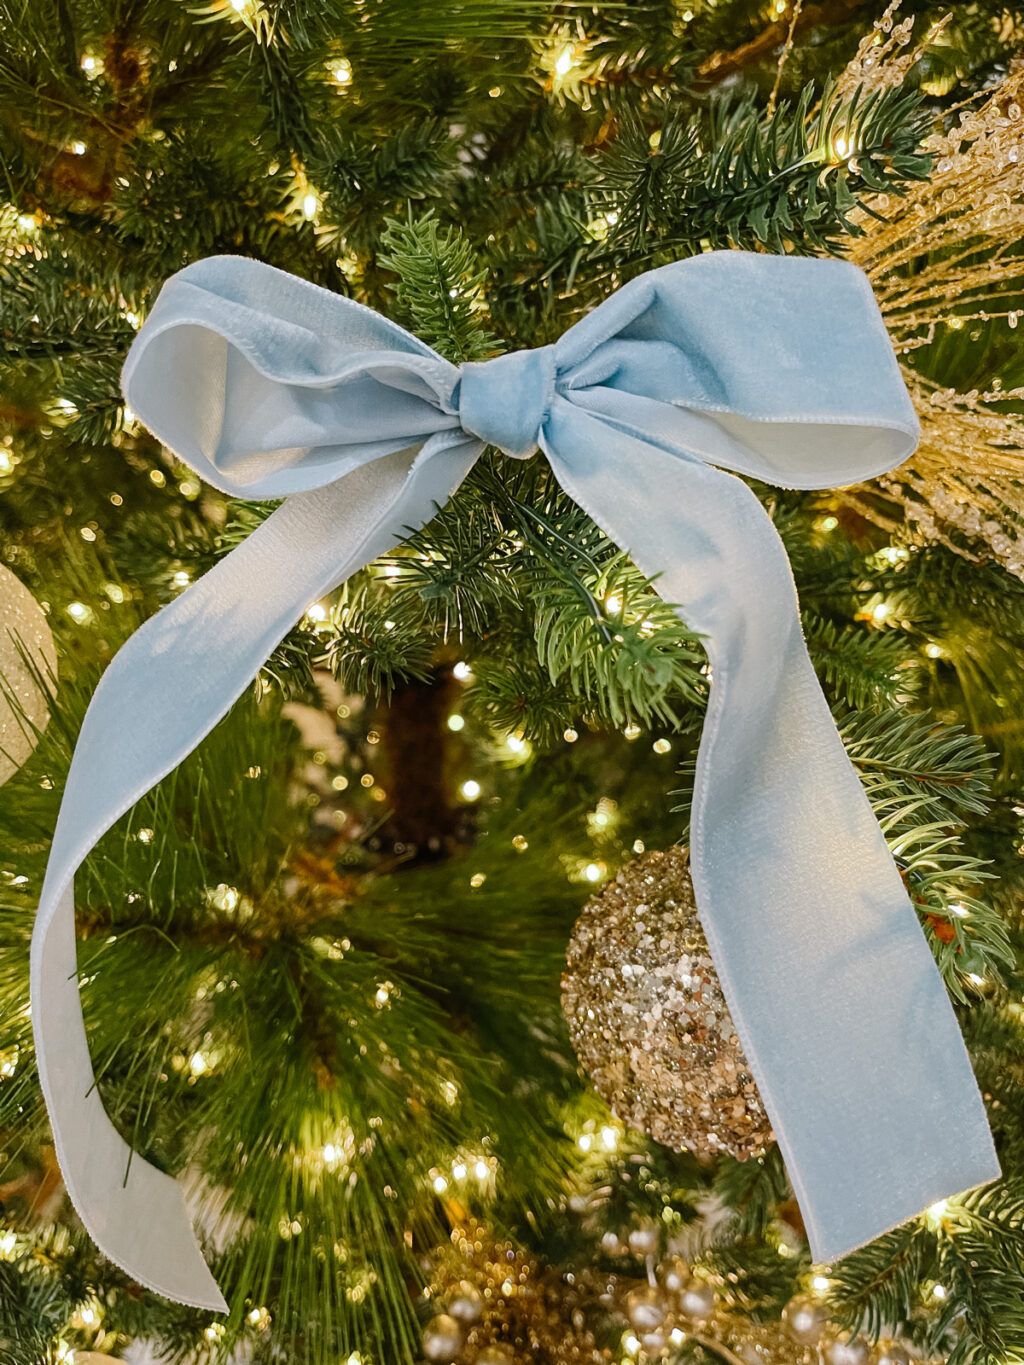
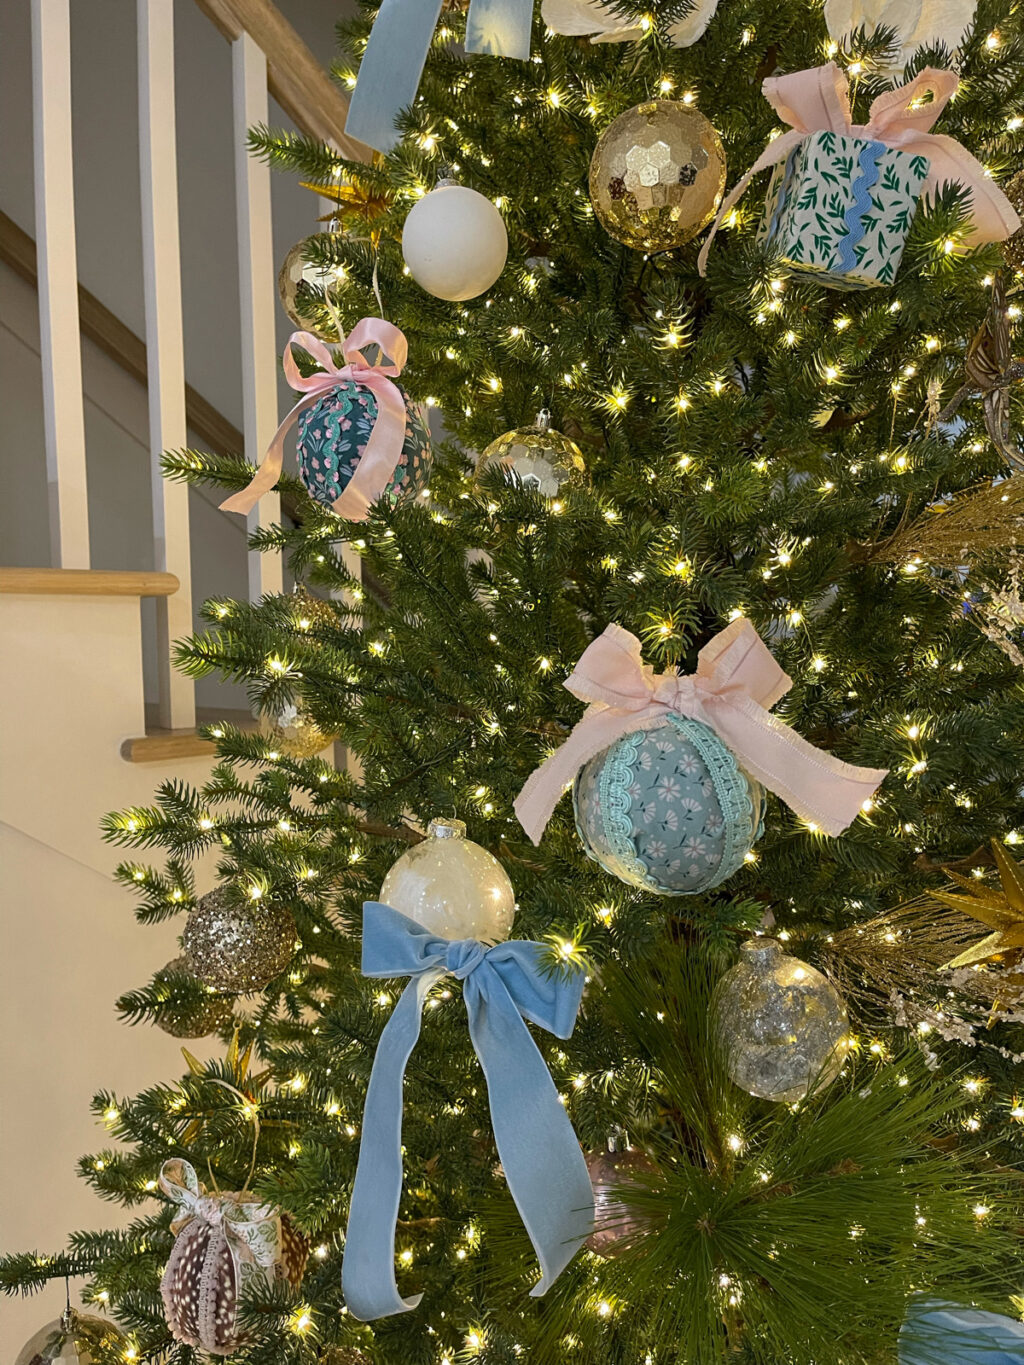
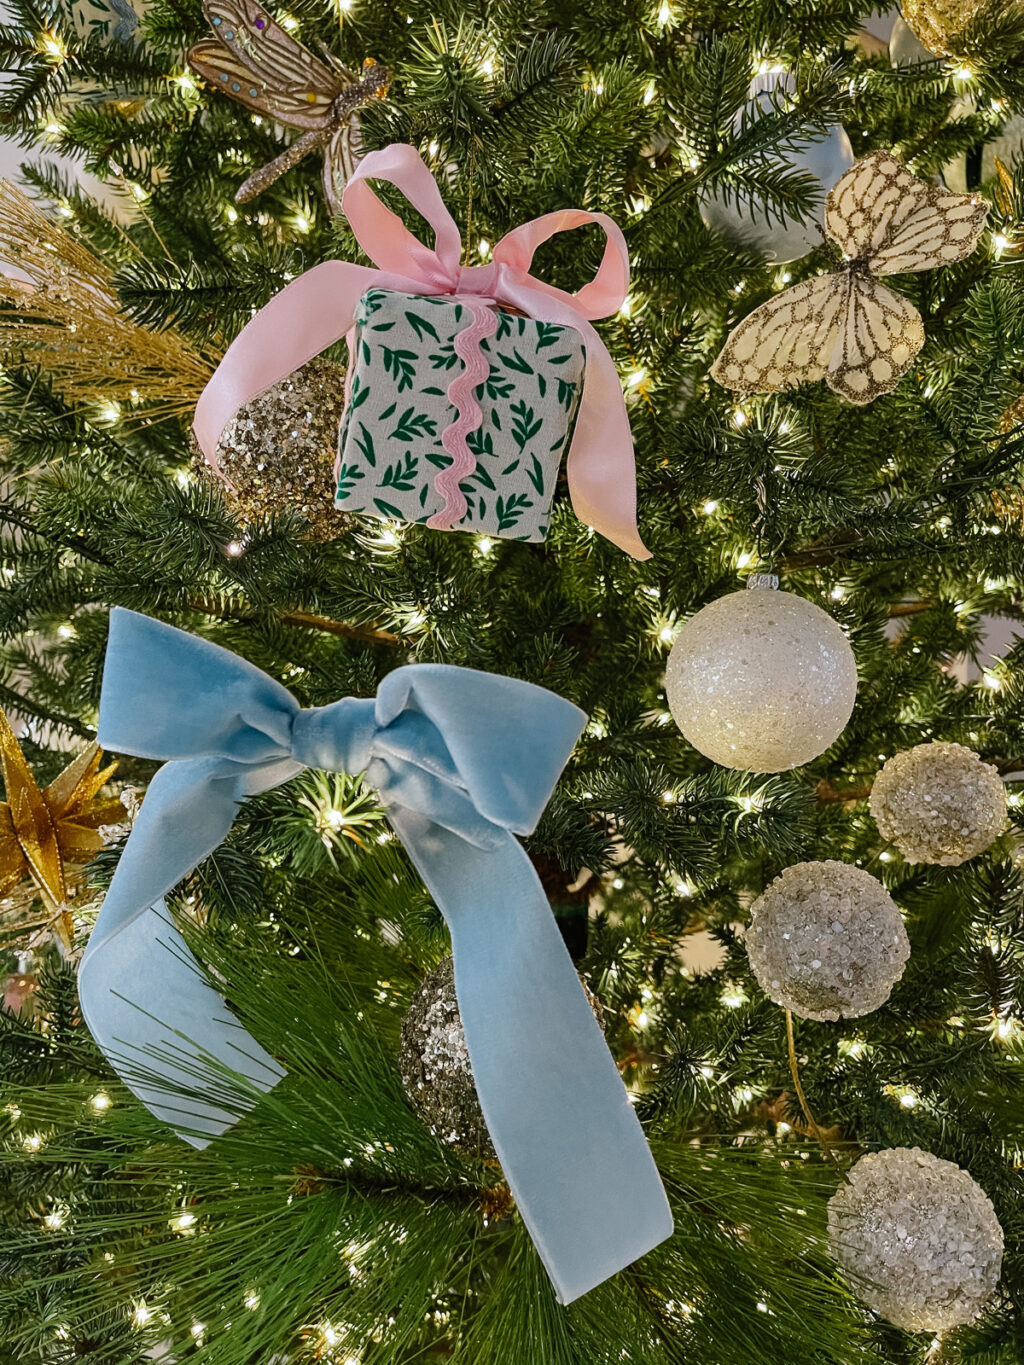
I hope you enjoyed this post – if you want to shop the exact velvet ribbon I used to make my blue velvet bows, click here.
Shop the Post


[…] still due to make some more ornaments for our tree (see the tutorial here) and I’m also waiting on some backordered ribbon to make more bows, but I’m loving the […]