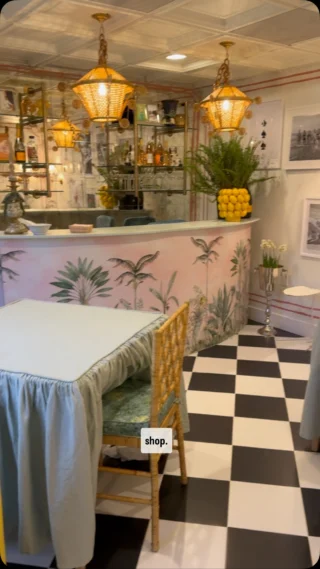
I had always planned to find a beautiful scalloped mirror for Harper’s bathroom and was recently inspired by this image:
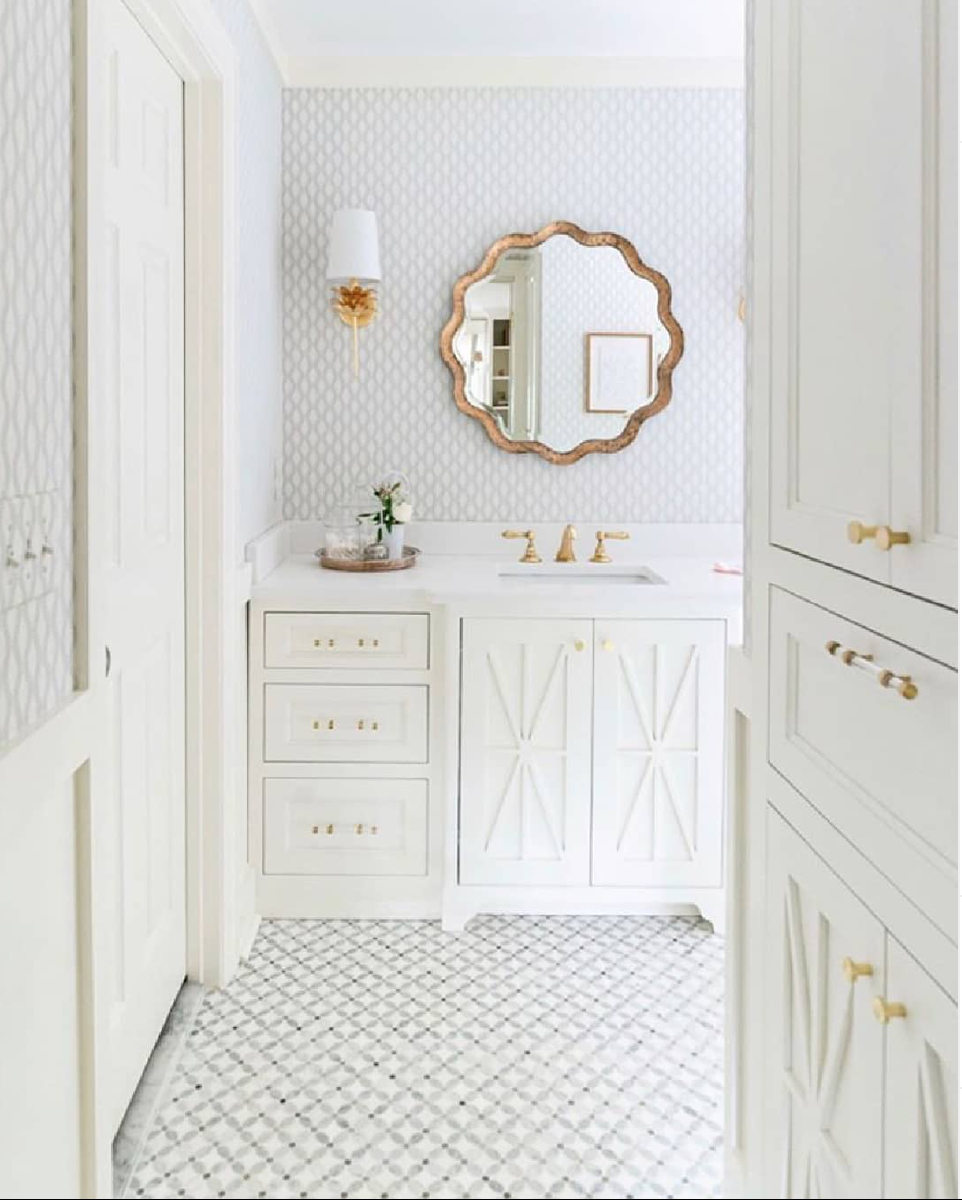
I had a hard time finding something close to that mirror – I think it was a Ballard mirror that is no longer sold and it was professionally gold leafed , via the designer working on this project.
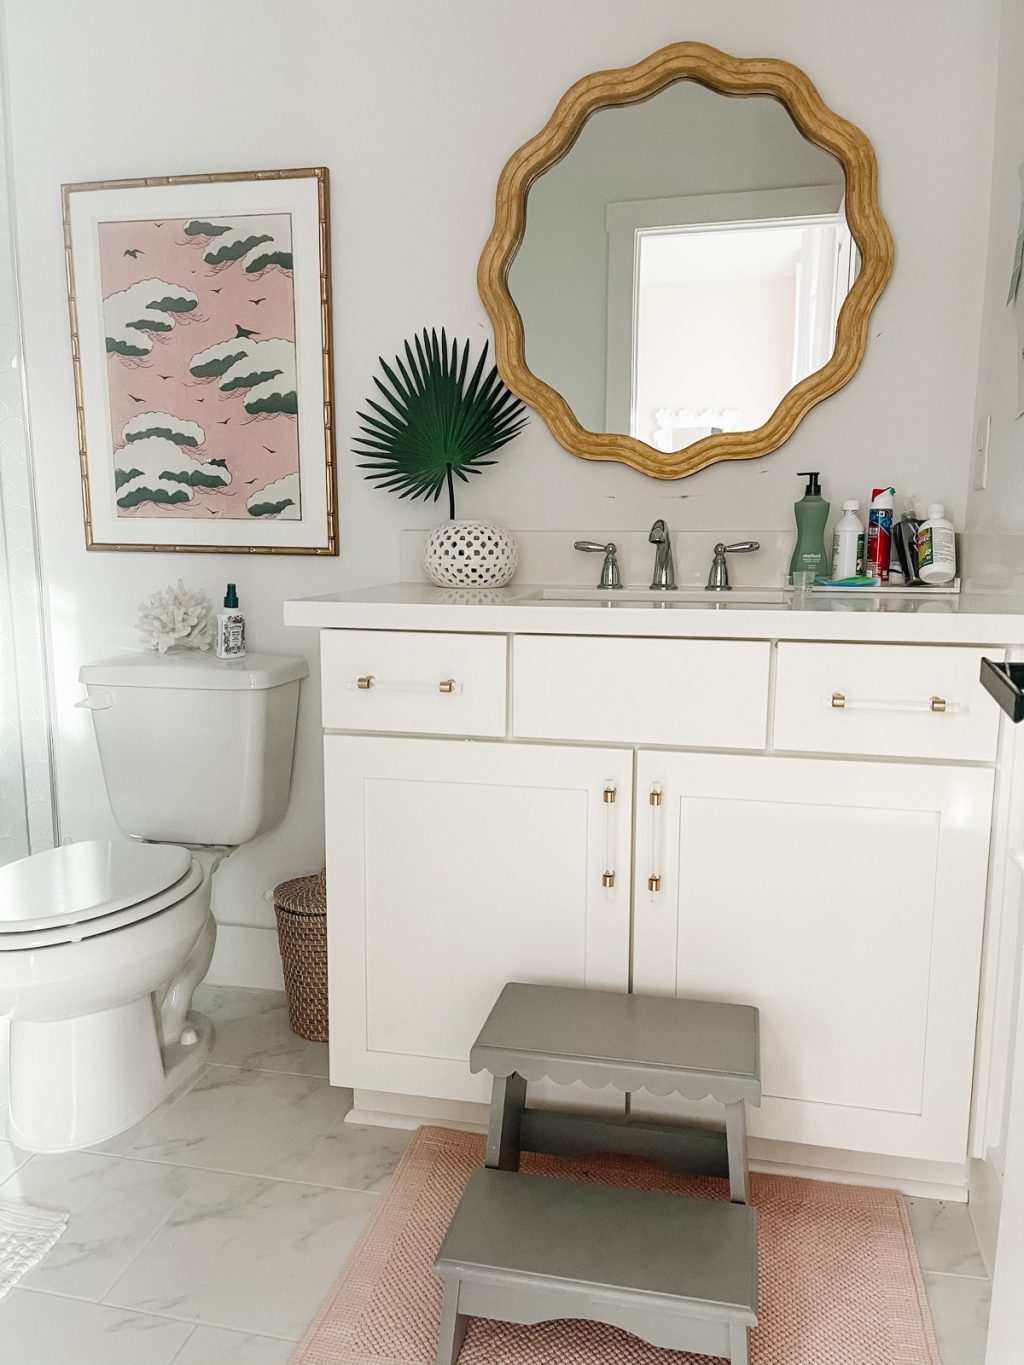
My online search led me to this 30 inch scalloped mirror, which I felt was very close to the inspiration photo, albeit a totally different color. For under $200, this mirror was the perfect buy.

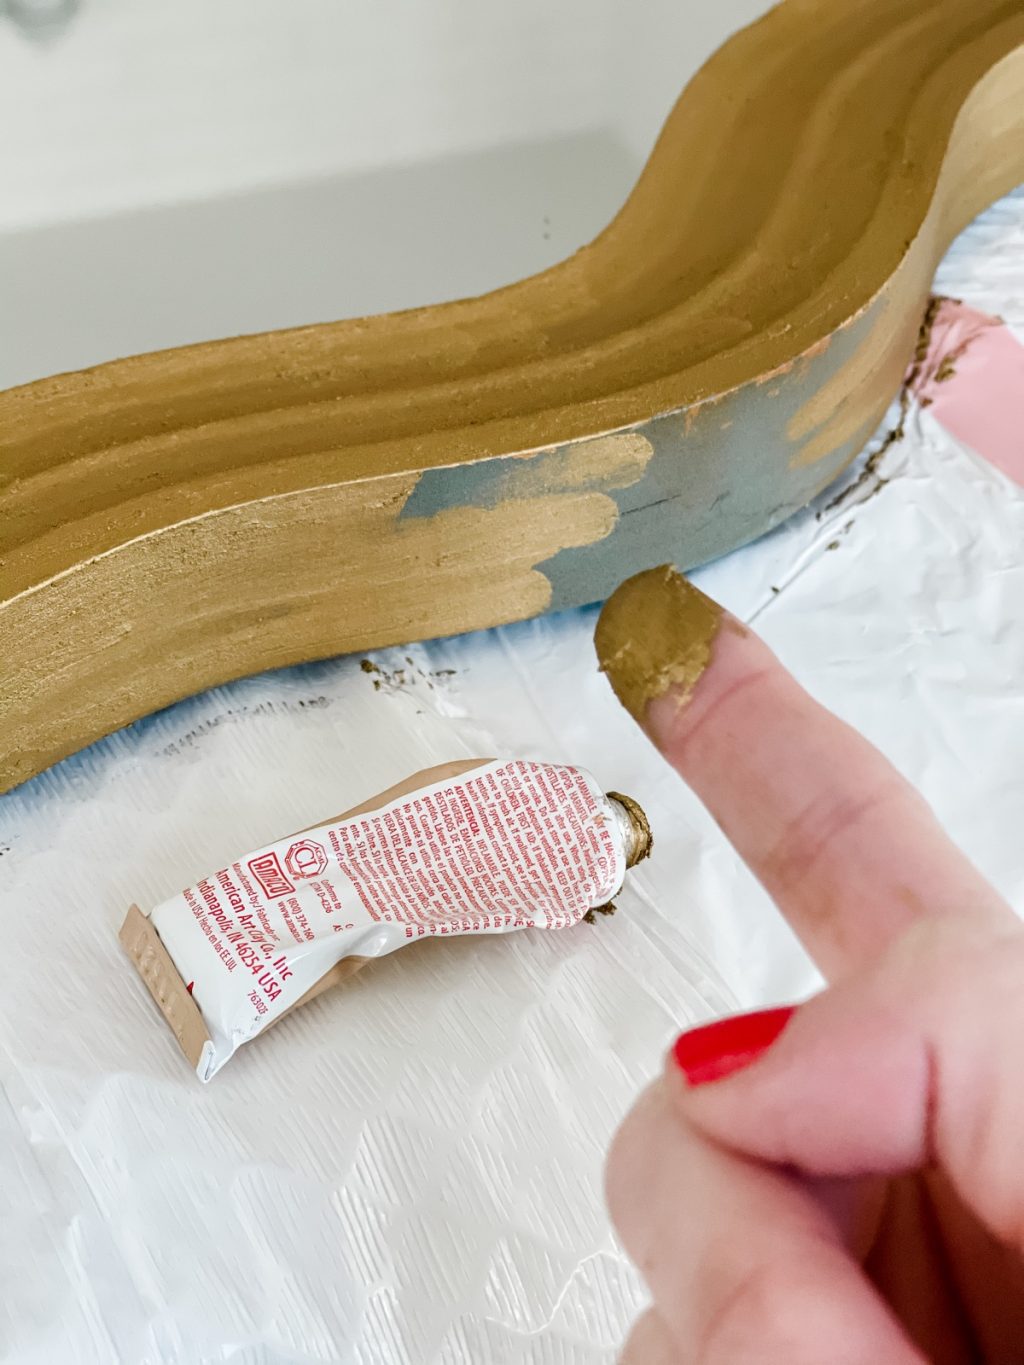
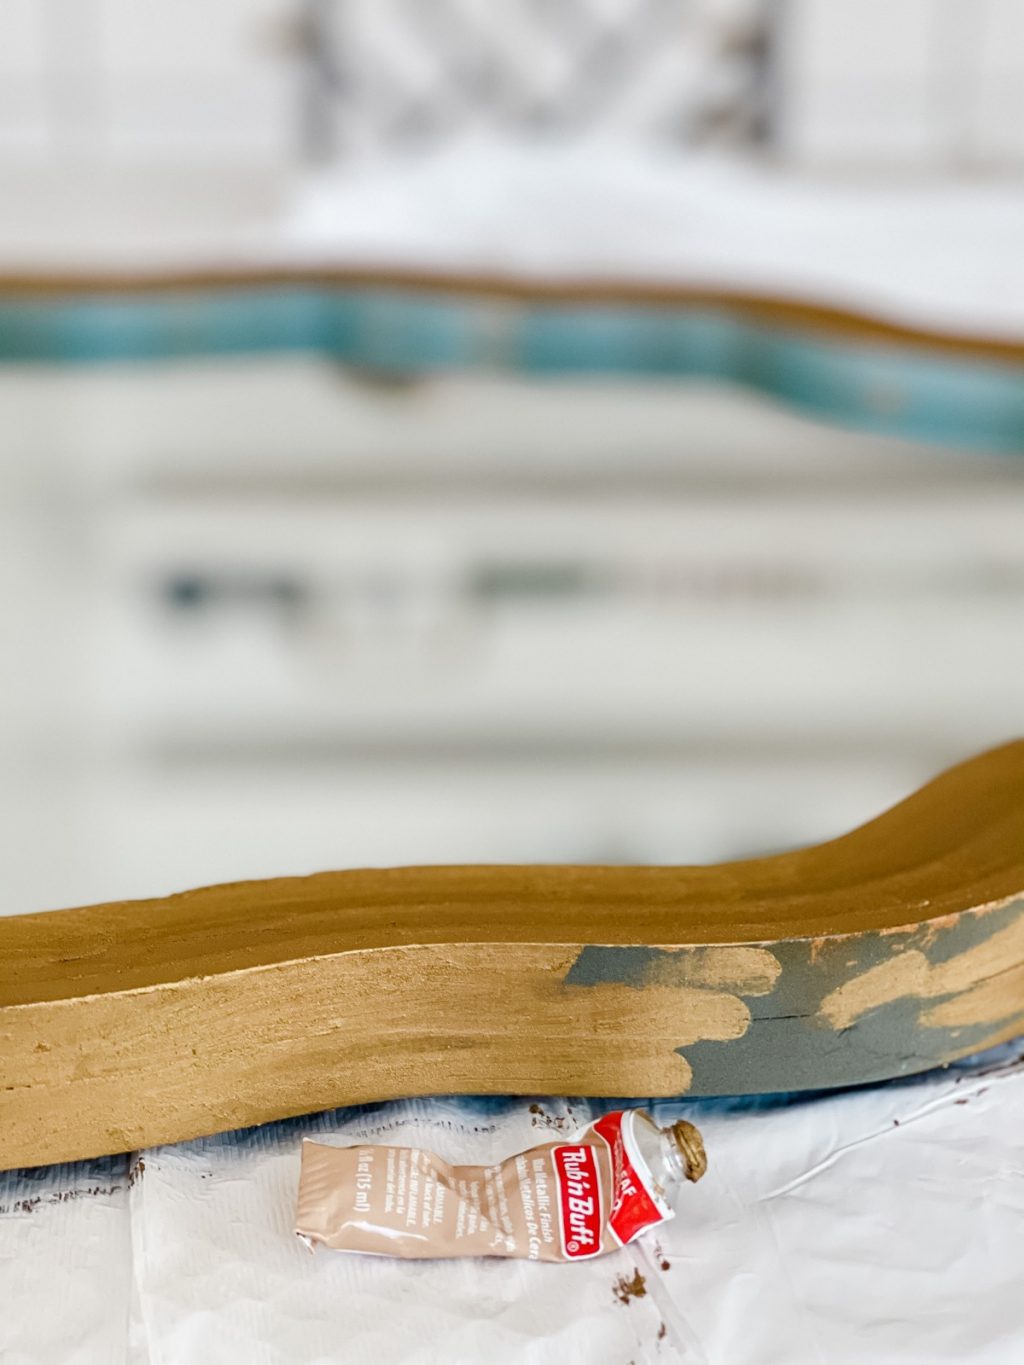
I decided to finally dive into my first Rub n’ Buff project. It’s a product I’ve know about for years, but had never used for any of my projects, opting instead for spray paint. A mirror seemed like the perfect project for a product that can be applied with your fingers.
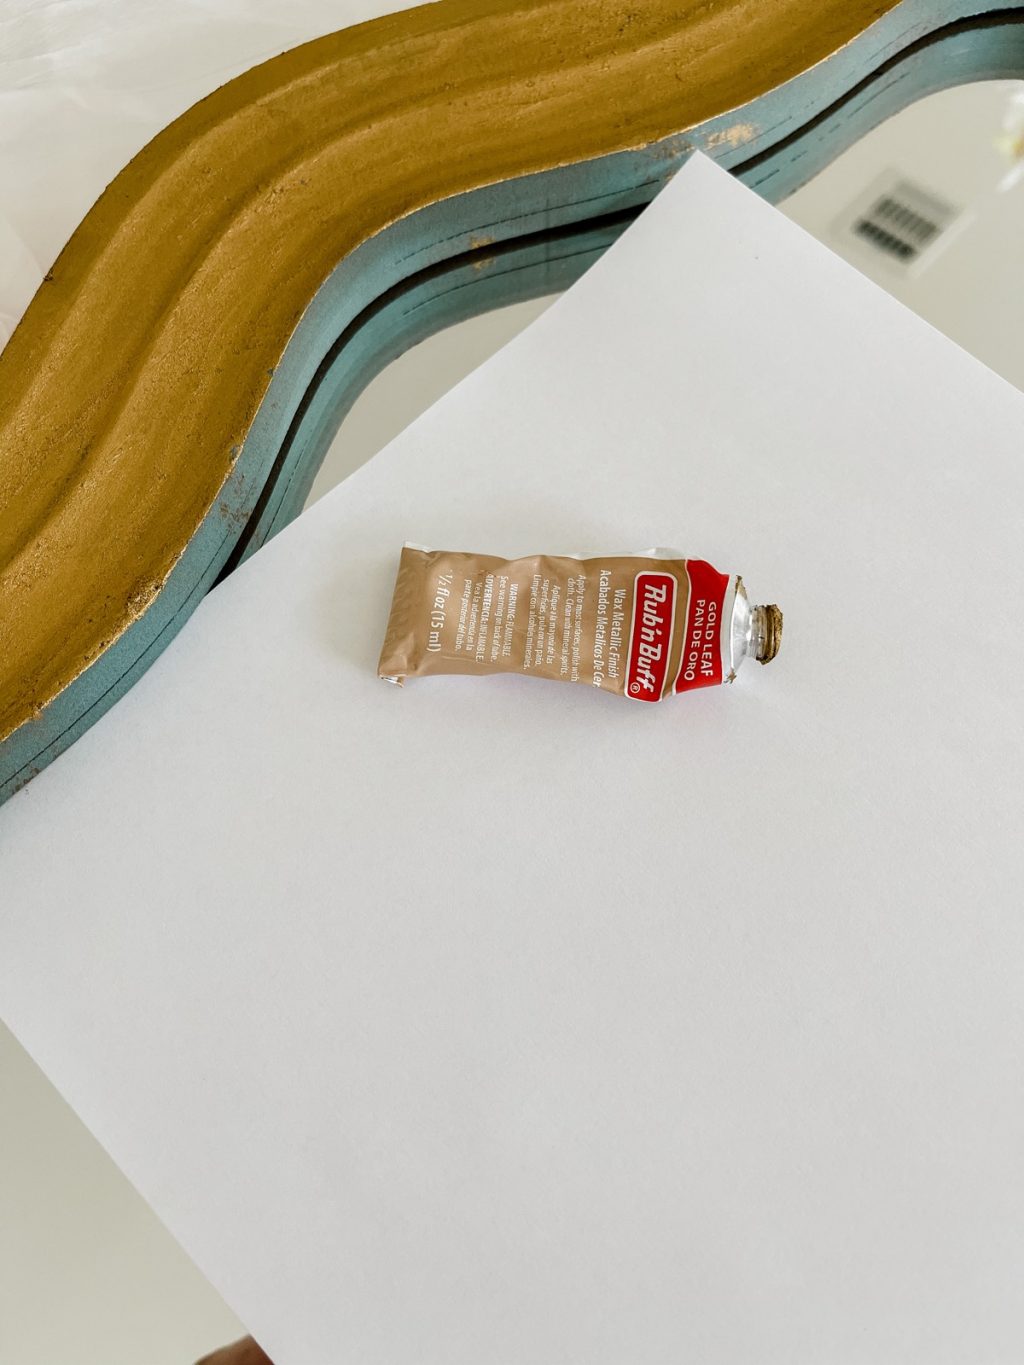
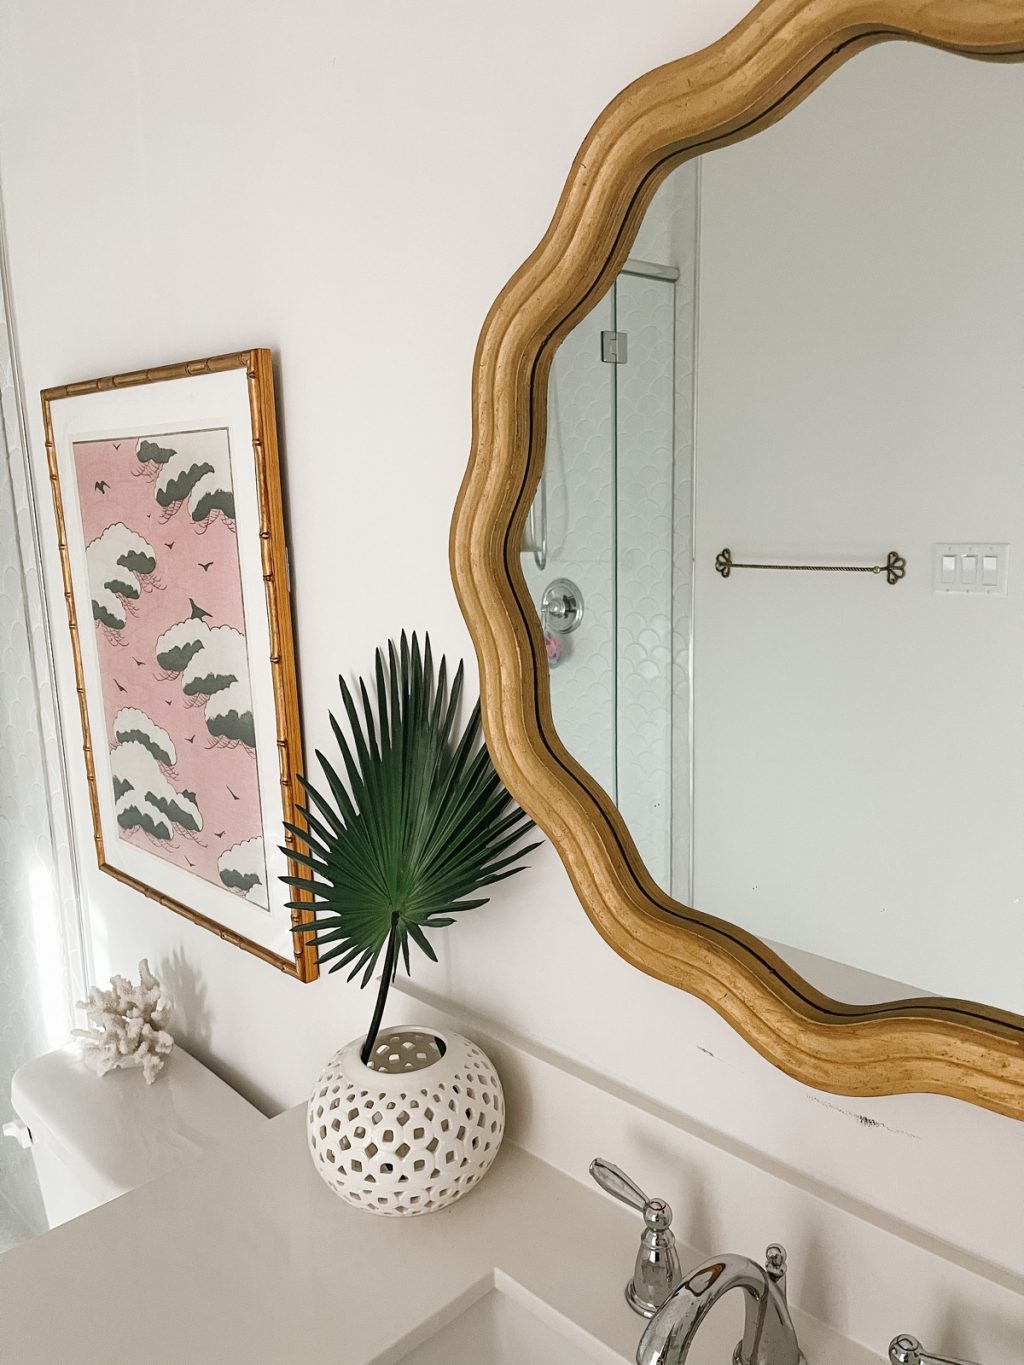
I opted for the gold leaf shade after looking at comparison photos online. When the package arrived, I thought to myself “how the heck am I going to cover an entire mirror with two of these teeny tiny tubes?” I decided to start the project and order more if I needed to.
It turns out, my assumptions were totally off base. I didn’t even have to use one full tube to complete this mirror. This product is like magic. It covers well and you can literally apply it with your finger (though some prefer to wear gloves).
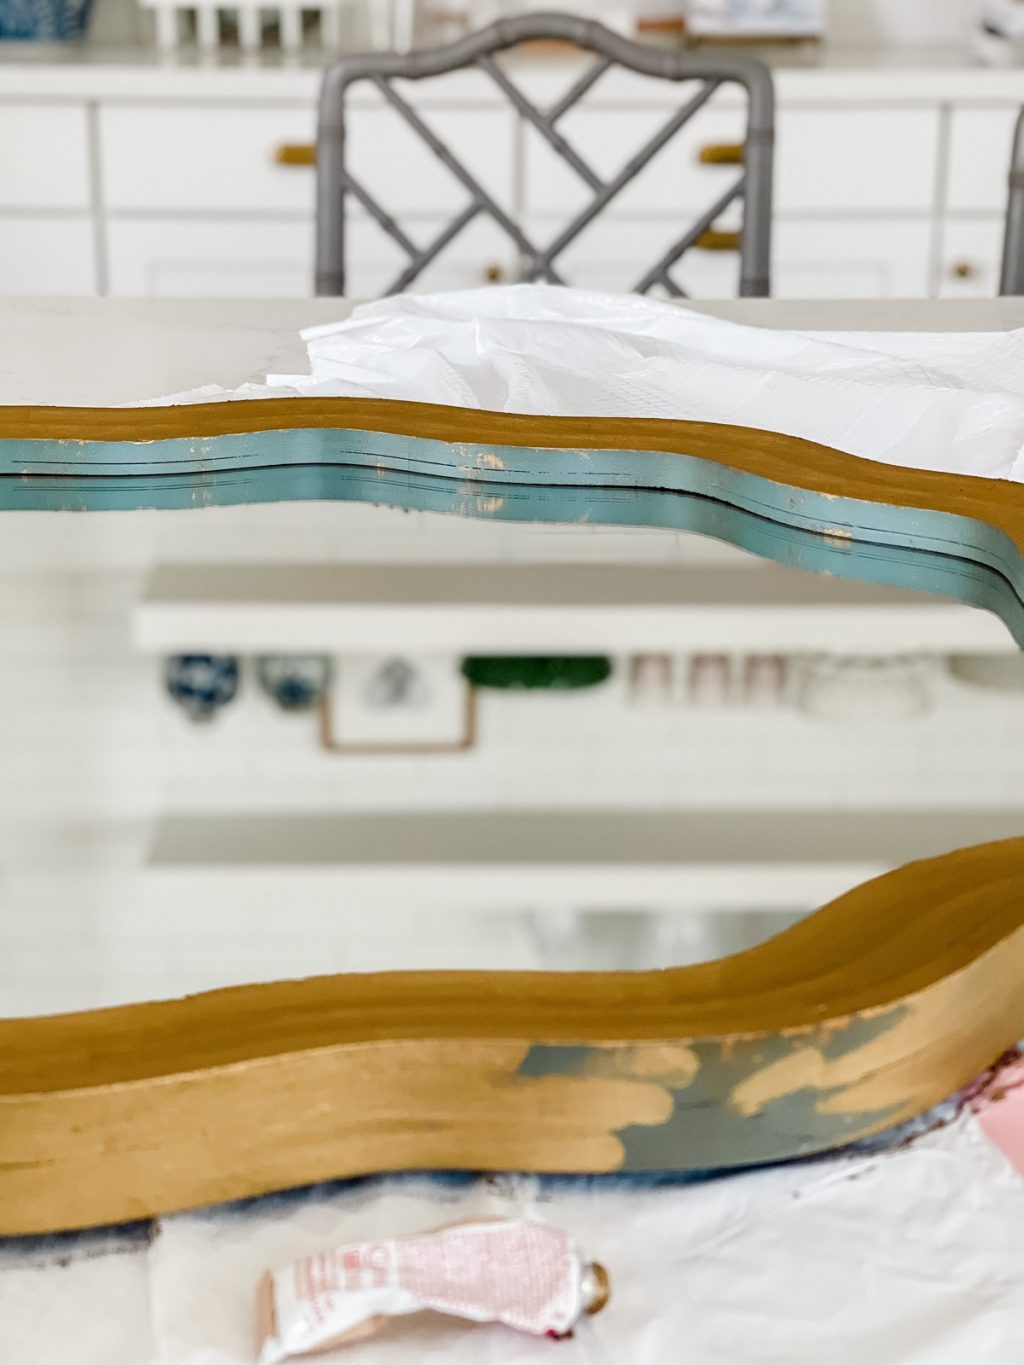
One caveat here is that I did not do the “buff” part of the Rub n’ Buff. You’re supposed to apply it and then buff it in with a cloth or rag. I skipped that part because the texture of the mirror frame itself was a little imperfect and it already had a few areas that were made to look “rustic” with some gold leaf. I kind of wanted a textured look, as in the original inspiration image.
The most important tip I can offer is to use this in a well-ventilated area. It doesn’t smell as strongly as spray paint (which you should truly never use indoors), but it’s not fantastic either, so open a few windows or work outdoors if weather permits.
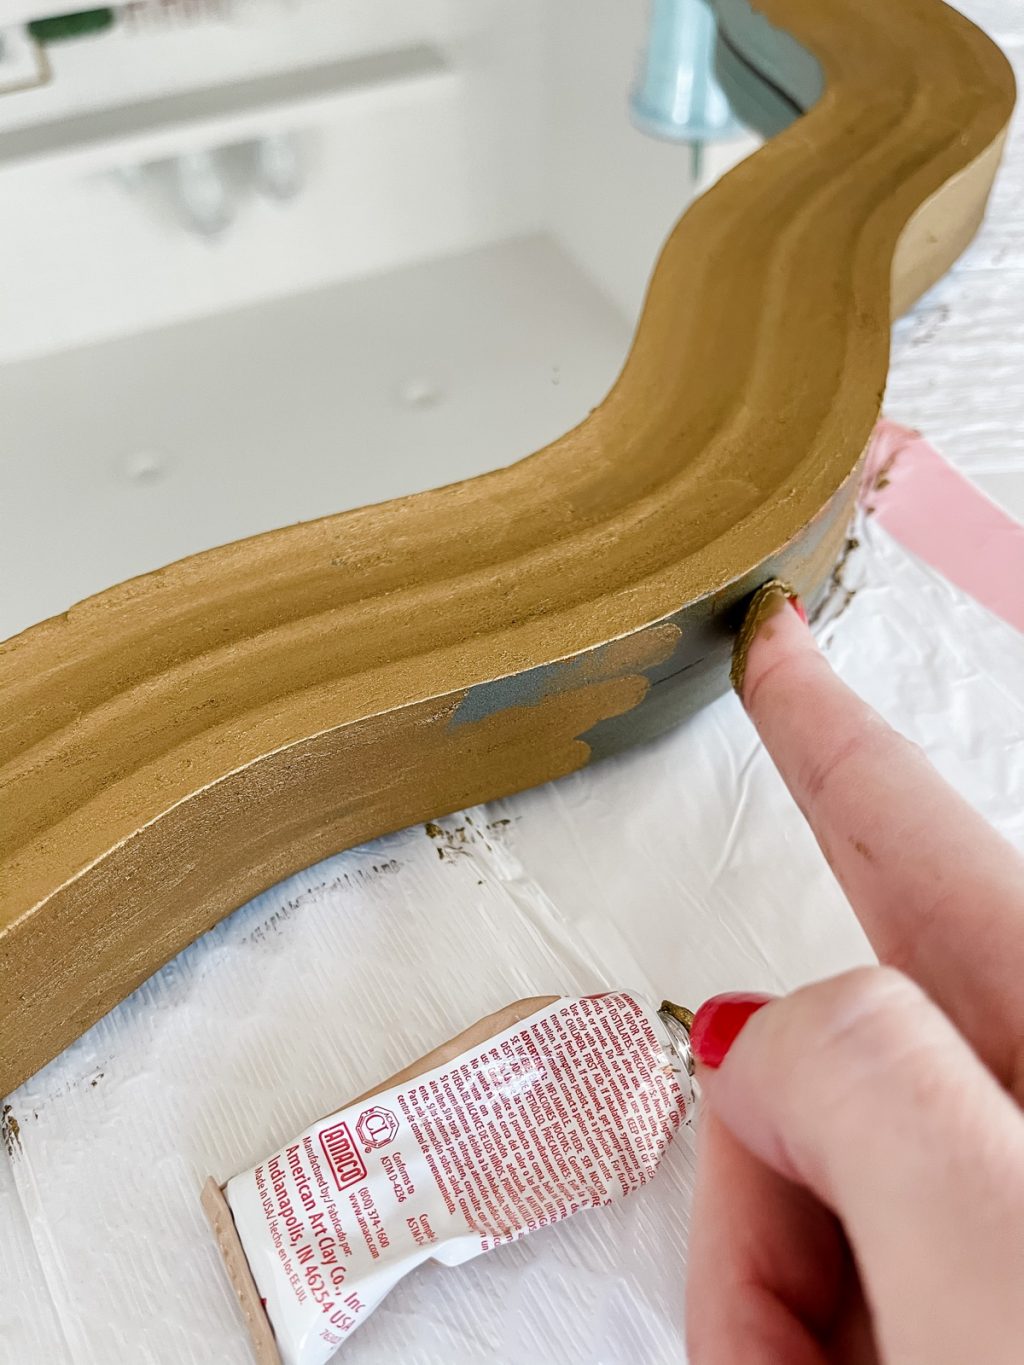
This project was completed so quickly, it surprised me. Rub n’ Buff is so easy to use/work with. The one part that was a little more challenging was applying the Rub n’ Buff to the inside edge of the mirror frame. I ended up using my finger for the top half and a small paint brush to paint the bottom part where the frame meets the mirror. I also used a piece of paper in some parts to slide under the area where the frame meets the mirror so I could get nice, complete coverage without getting the product on the actual mirror.

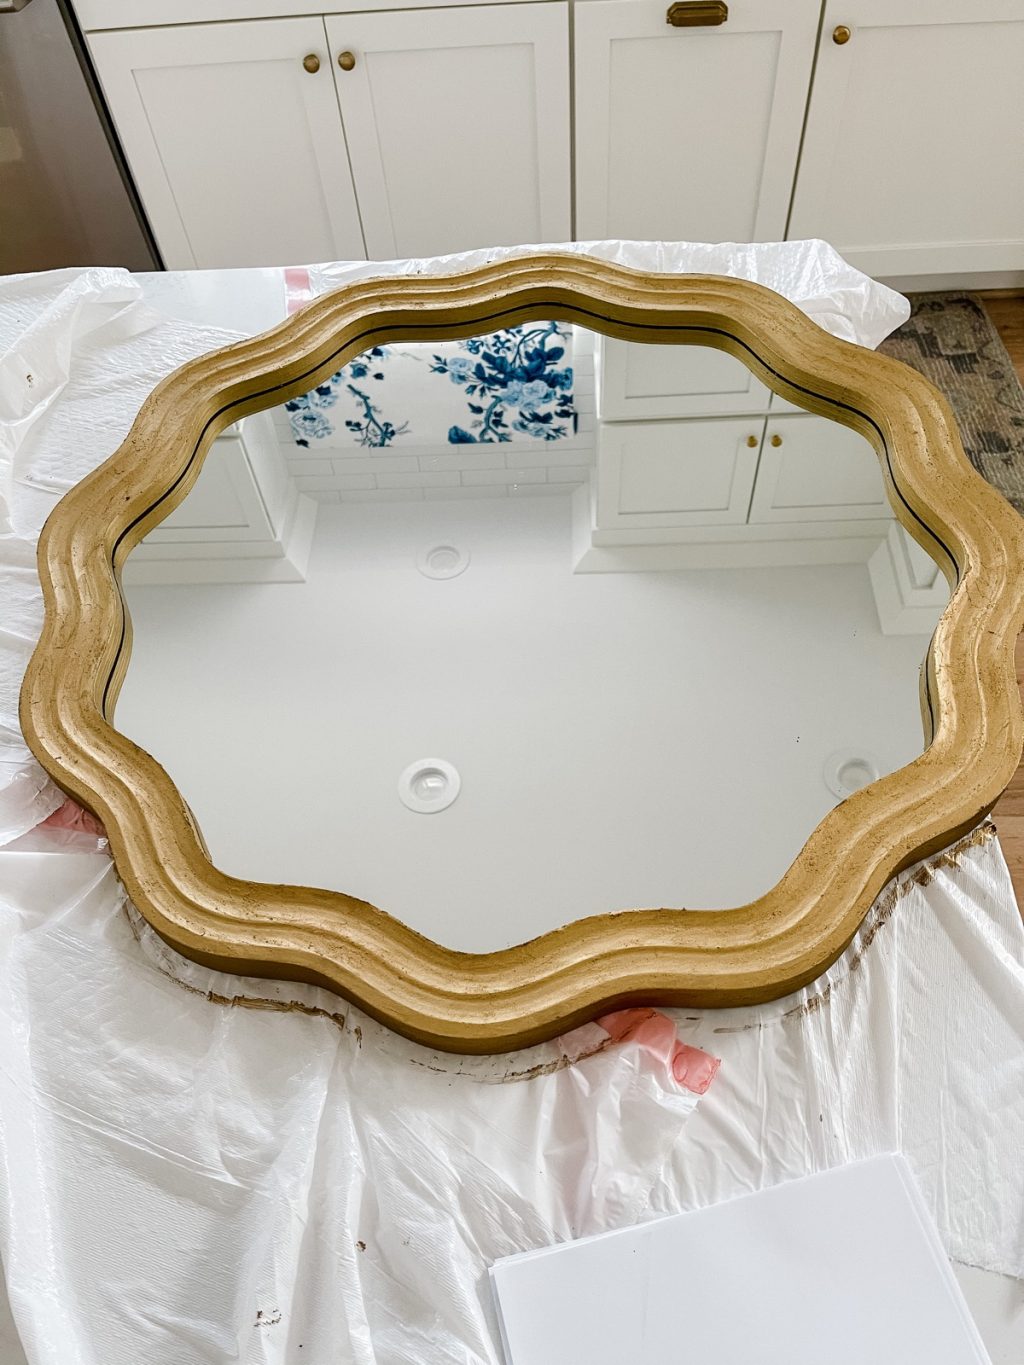
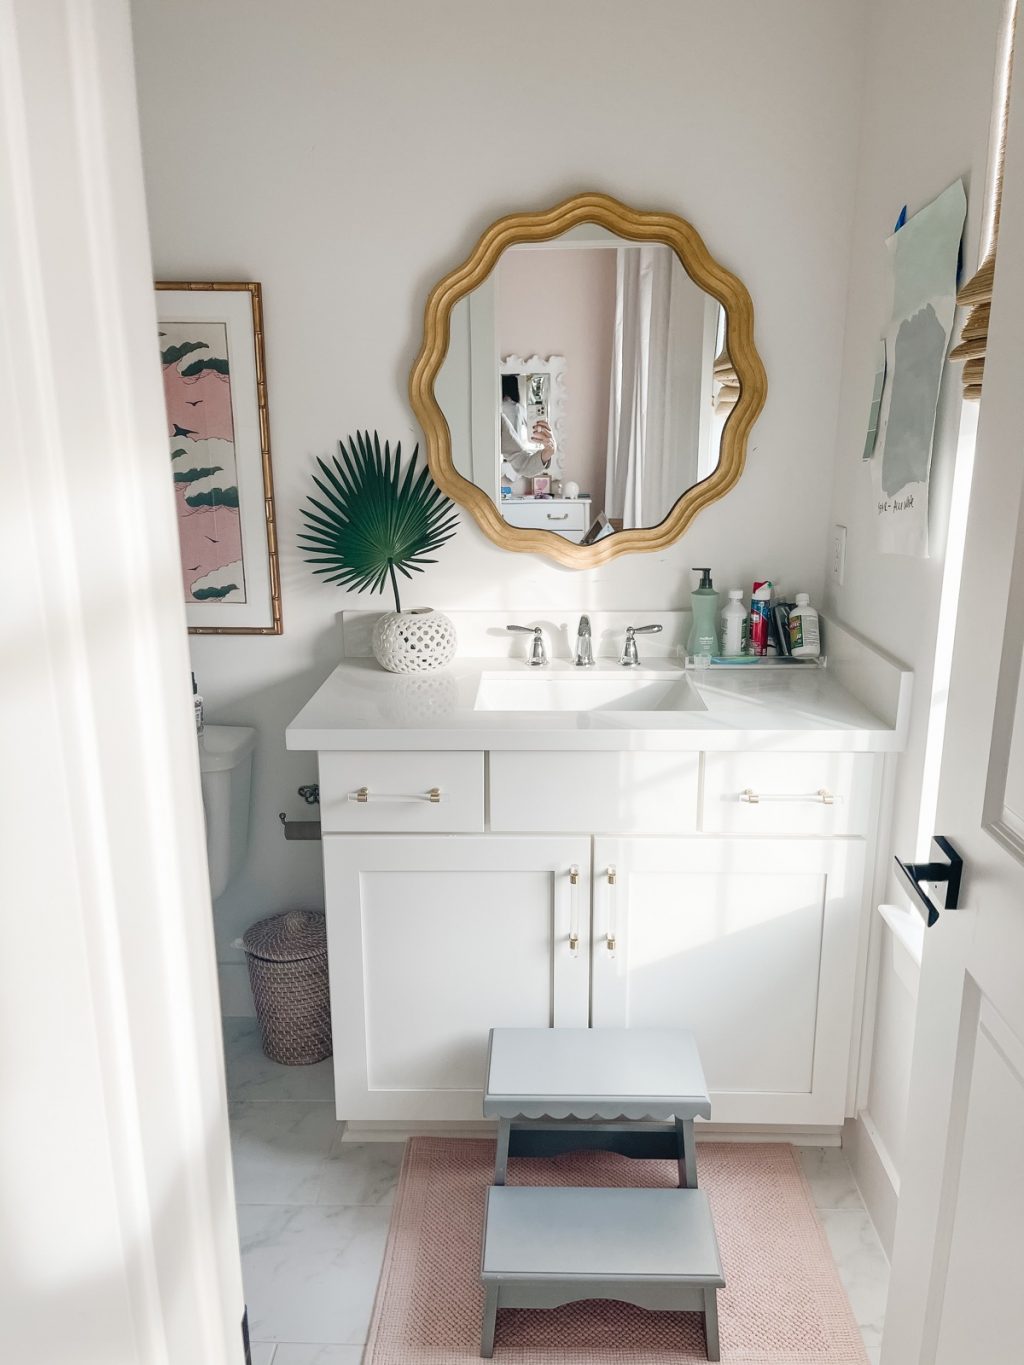
I’m thrilled with how the finished product looks! Next up, painting Harper’s bathroom the mint green color she desires – updates to come!
Have you used Rub n’ Buff? Let me know if you have any questions!


Adorable! Where did you get the cute mirror?
The mirror is linked in the post 🙂
I have a very large mirror that is very old. Its probably a French or Italian piece and is an ugly flat yellow color due to age. It has no damage and I’m wanting a pretty gold color. Paint won’t do due to the intricate scroll work. I’m going to try the Rub and Buff. Thanks for the great information. I’m not quite so uneasy about the endeavor now.
I have used the product onto mirrors for my bathroom, however it looks like we should have seal them. I now have spots from water splashing onto the frame of the mirror. Did you steal yours before use?
You should really be wearing gloves…
I know this now and would next time! Just didn’t realize when I first used it 🙂
I just bought 6 colors of Rub n Buff for just this type of project. Yours looks wonderful! If I was putting this in a Mint Green bathroom, I may have experimented with leaving the inside edge the paint color ??